
|
|
|
You are using an out of date browser. It may not display this or other websites correctly.
You should upgrade or use an alternative browser.
You should upgrade or use an alternative browser.
1986 FZ600 "Black Yamba"
- Thread starter rye
- Start date
Modified the old ugly square tail light and alien eye signals to an integrated LED unit. Had to use some resistors and relays to get it to function just right but it's working good now and I'm quite happy with how it turned out. The dual round look matches the front end and that's what I was going for!
[video=youtube;BaCsoialr4A]http://www.youtube.com/watch?v=BaCsoialr4A[/video]
The tail light upgrade looks awesome!
Spyug
Well-known member
Small world isn't it, especially in the bike community. TJ does great work if Gatekeeper's GS is any example so you couldn't go wrong if you got him to shoot your paint. Might as well get it done right if you gone this far.
We'll have to come and see how she turns out once riding weather shows up.")
We'll have to come and see how she turns out once riding weather shows up.
Well I checked out some paint options from crappy tire and napa today... not much to be honest, and quite expensive from napa (and they give you twice as much activator for the primer than you need for some reason) so that just didn't make sense.
I ended up ordering some 2 part epoxy primer from eastwood.com and some urethane paint with activator as well - will see how it goes. For under $100 for everything I'm not expecting showroom shine, but just something that I can be happy with on my budget build!
I ended up ordering some 2 part epoxy primer from eastwood.com and some urethane paint with activator as well - will see how it goes. For under $100 for everything I'm not expecting showroom shine, but just something that I can be happy with on my budget build!
GateKeeper
Well-known member
Don't be doing flat black , that is my choice for my tins, well I was going to do carbon fiber until I heard the price.....:glasses7:
, that is my choice for my tins, well I was going to do carbon fiber until I heard the price.....:glasses7:
Last edited:
Spyug
Well-known member
I know TJ will flip out over this but I've had decent success using rattle can for the base colour then shooting clear 2 part top coat. Considerably cheaper and decent enough to fool everyone but a pro. That could get you through the season and you could save up for new plastics and have TJ shoot them for you .
.Don't be doing flat black
Nah it'll be goin glossy don't worry. Have an idea in mind with some decals on the way too, hopefully it looks good!
I know TJ will flip out over this but I've had decent success using rattle can for the base colour then shooting clear 2 part top coat. Considerably cheaper and decent enough to fool everyone but a pro. That could get you through the season and you could save up for new plastics and have TJ shoot them for you
Already ordered some 2 part paint from eastwood - rattle cans can work for sure but they just take forever to cure and spraying them in negative degrees isn't the best idea for a decent finish either. Obviously a professional would never recommend rattle cans but they have their place! I did my engine with duplicolor rattle can paint.... granted I had to bake it in the oven afterwards though...
GateKeeper
Well-known member
rattle can paint job on the frame and engine....and I didn't bake anything....
Tins done by TJ aka carboncat.....

Tins done by TJ aka carboncat.....
Just to be sharp I repair body parts in the garage and end result is 100% oem quality and I say it out loud to people who do diy be optimistic if you plan to paint more than once invest in good tools, some of them will cost big $ but you end up with high quality job.
Last edited:
I know TJ will flip out over this but I've had decent success using rattle can for the base colour then shooting clear 2 part top coat. Considerably cheaper and decent enough to fool everyone but a pro. That could get you through the season and you could save up for new plastics and have TJ shoot them for you
The crappy paint job that TJ sanded off the fairings that were on my 400 were done in that way.
Long-term adhesion was an issue - stone chips. And the finish looked bad from day one.
When it comes to paint, there is no substitute for years of experience. I did the old paint job myself before I knew who I should take the job to. Now that I know who to take the job to, I ain't doing it again!
Btw, rye, very nice restoration project, I restore bikes too, but newer models.
Thanks! For my first go at it... I'm pretty proud. It'll be even better when I'm out there riding and enjoying it this year.
The crappy paint job that TJ sanded off the fairings that were on my 400 were done in that way.
Long-term adhesion was an issue - stone chips. And the finish looked bad from day one.
When it comes to paint, there is no substitute for years of experience. I did the old paint job myself before I knew who I should take the job to. Now that I know who to take the job to, I ain't doing it again!
Not every DIY job is equal.
Well I checked out some paint options from crappy tire and napa today... not much to be honest, and quite expensive from napa (and they give you twice as much activator for the primer than you need for some reason) so that just didn't make sense.
I ended up ordering some 2 part epoxy primer from eastwood.com and some urethane paint with activator as well - will see how it goes. For under $100 for everything I'm not expecting showroom shine, but just something that I can be happy with on my budget build!
Now that you got your paint, I might suggest in the future if it is one time paint refinish, you can get custom made paint in a pint of spray can from toptech guy in st catharines $35 and the rest needed in cans as well he also mixes dual base coats for candy types but its a bit more, I don't guarantee it will be same quality as from spray gun though, but on the other hand you are not investing in compressor and the rest of expensive set ups associated with spray painting.
But.... I have a compressor and an HVLP paint gun, why would I go to spray cans?
Back on with the build progress....here's another piece to add to the puzzle, my decals came in today! Same vinyl used on the OPP stealth cars - black normally with a gold reflection when light hits it.
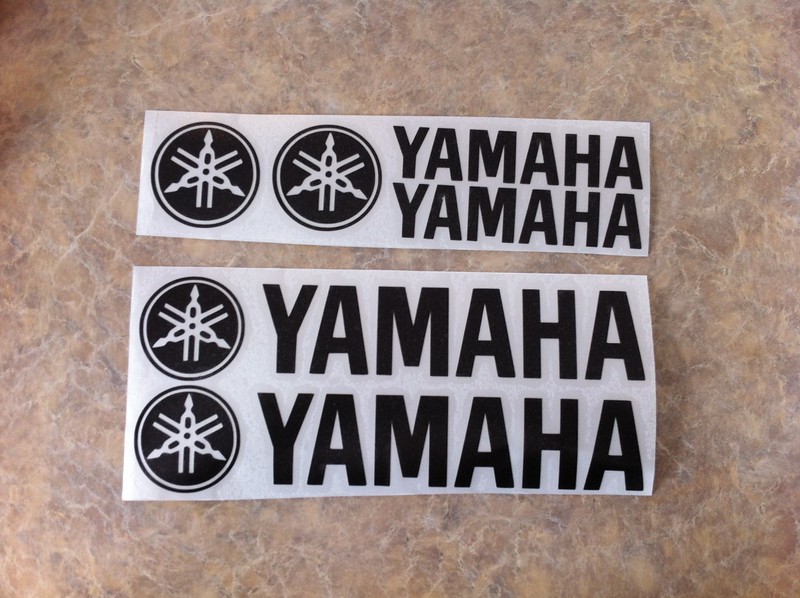
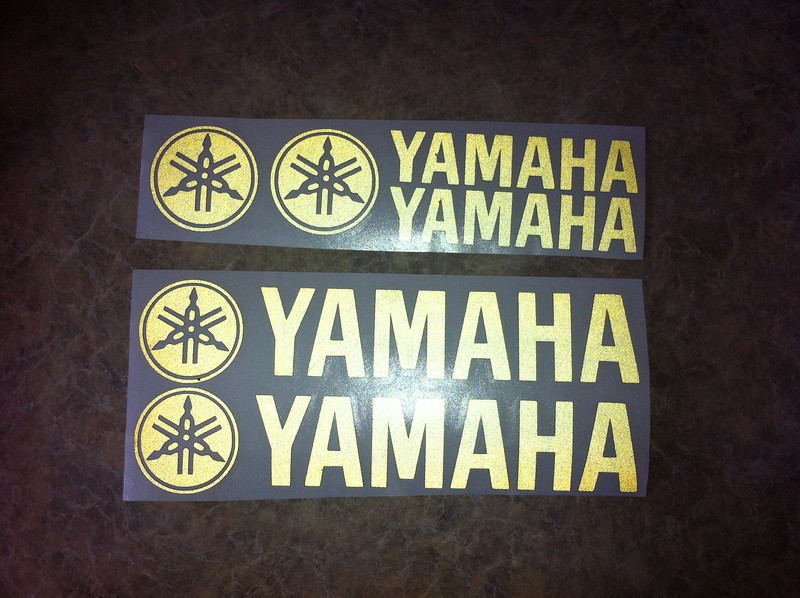
Back on with the build progress....here's another piece to add to the puzzle, my decals came in today! Same vinyl used on the OPP stealth cars - black normally with a gold reflection when light hits it.
|
|
|
|
|