1978 CB550K Restomod | Page 4 | GTAMotorcycle.com

1978 CB550K Restomod

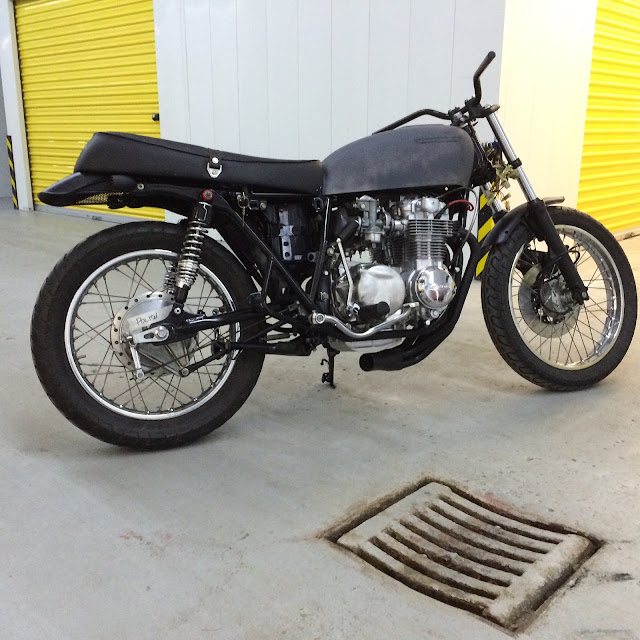
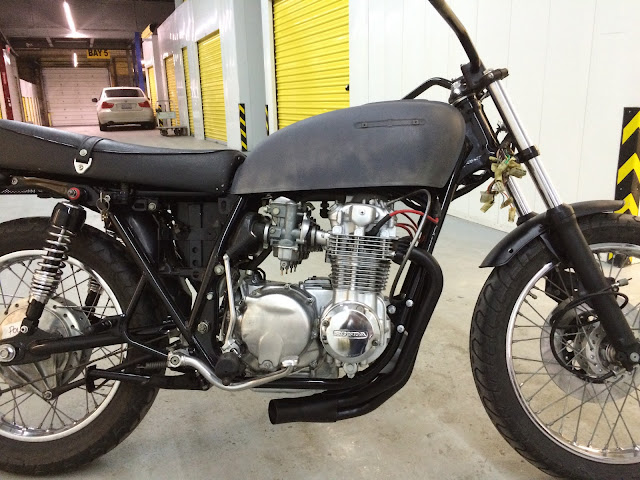
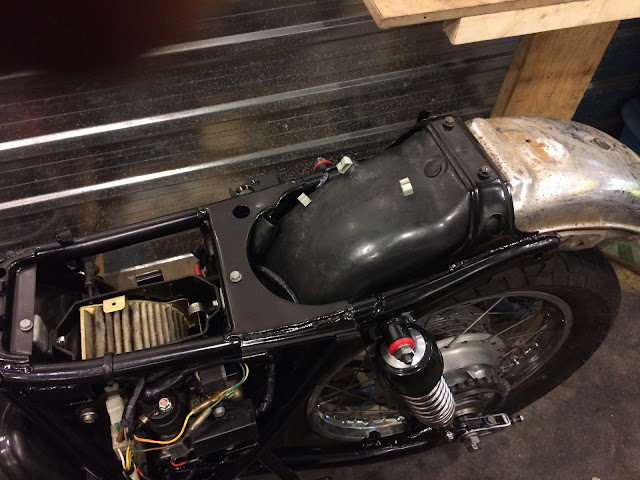
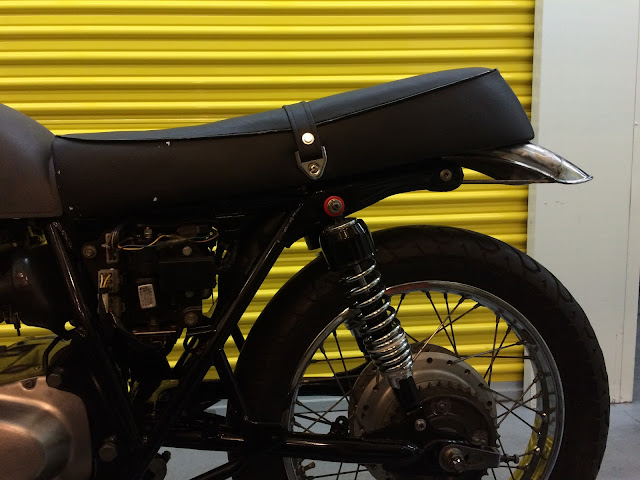
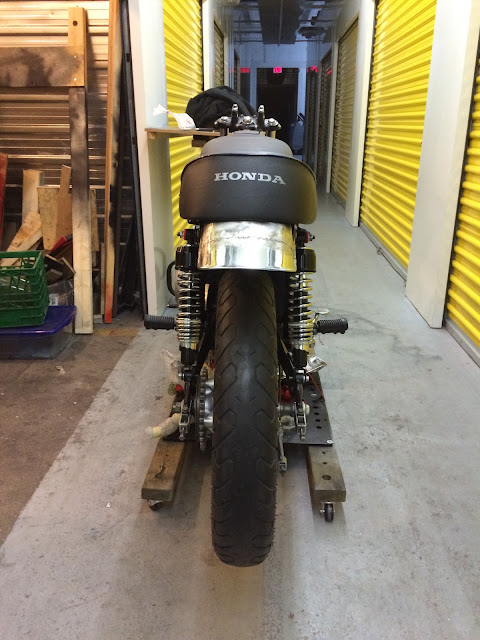
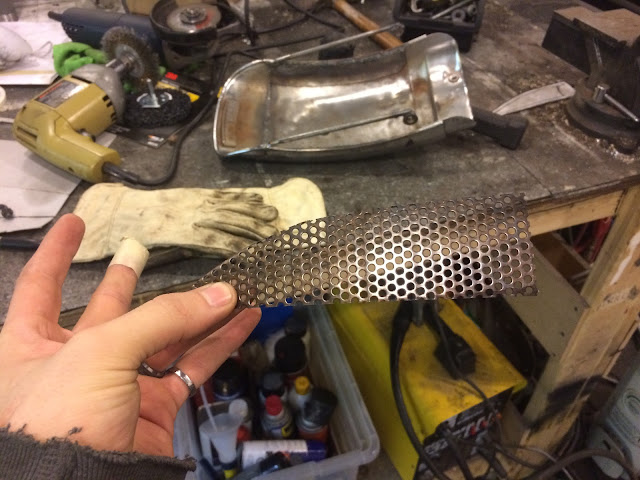
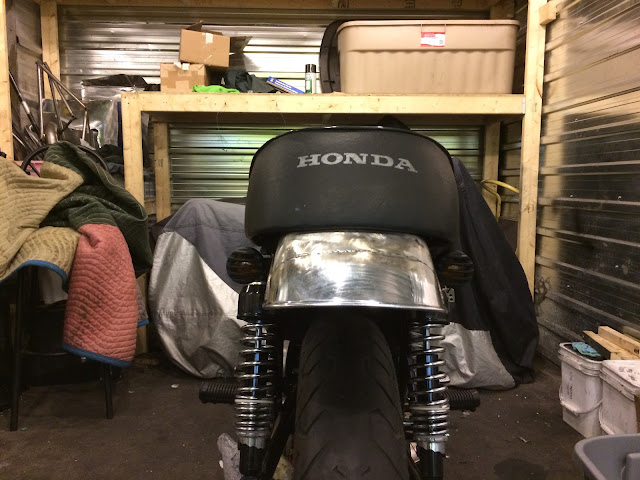
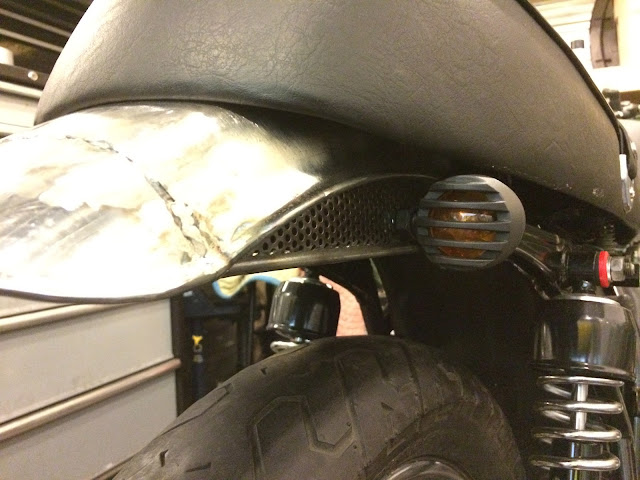
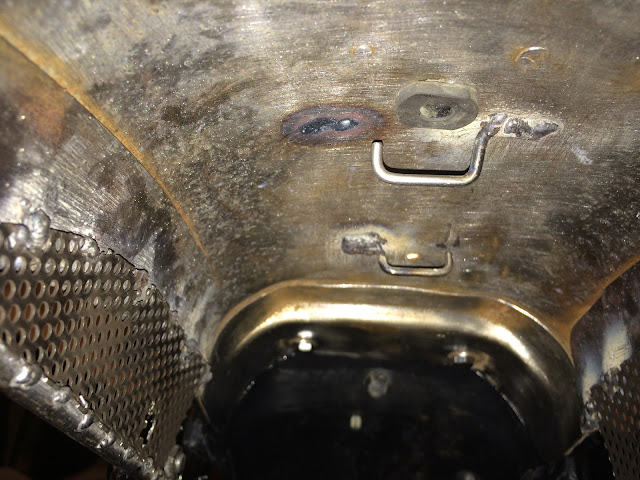
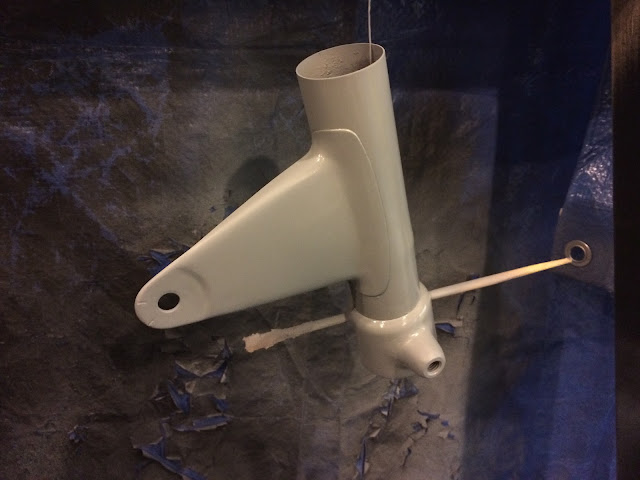
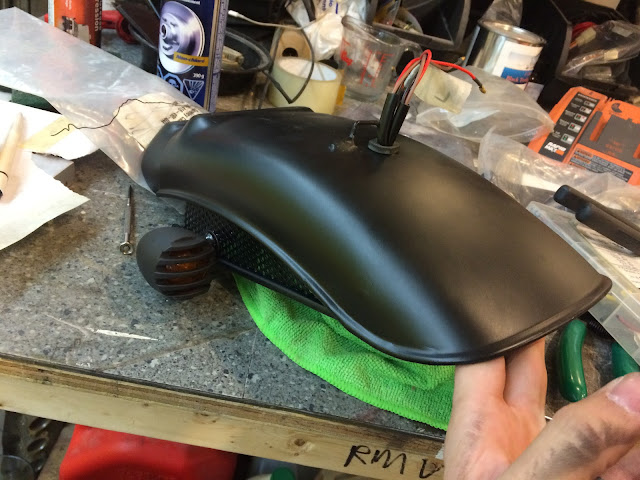
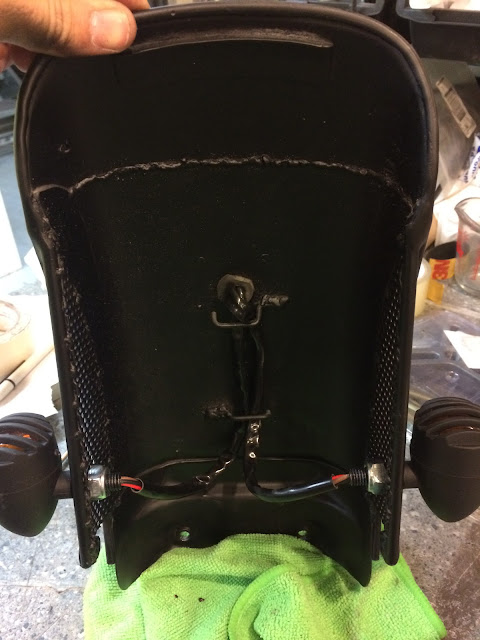
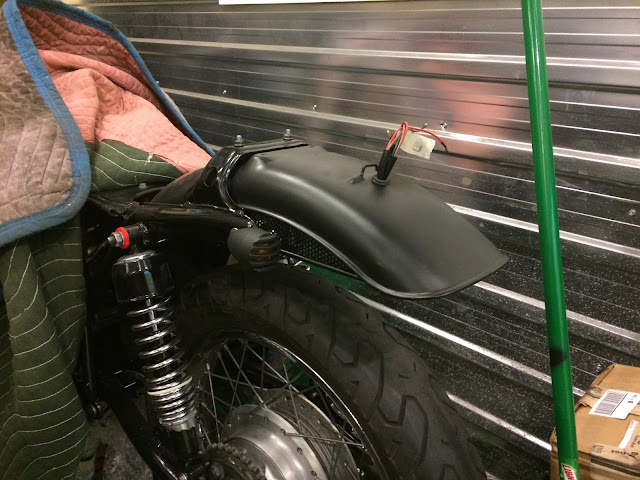
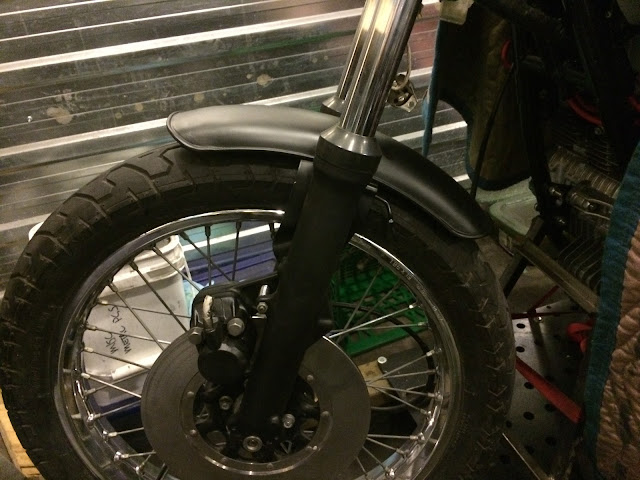
Was able to pop into this shop this morning for a bit of assembly time. I managed to get the airbox and filter box on as well as the rest of the harness connected. I also put on the rear fender. This marks the point where I stop assembling the stock parts and start to modify things like the fenders and headlight/dash area. It is all custom work past this point.

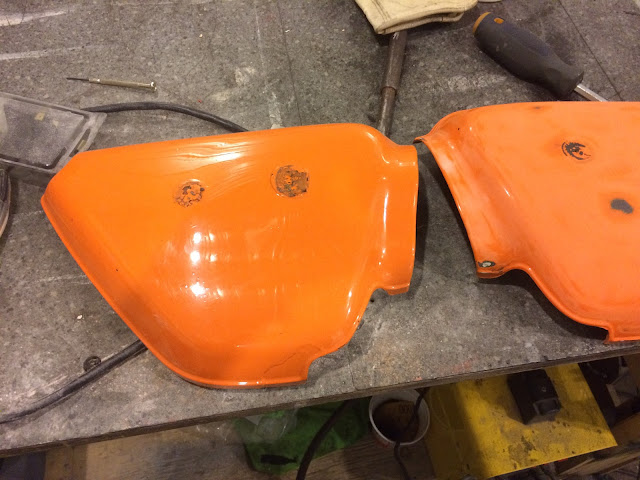
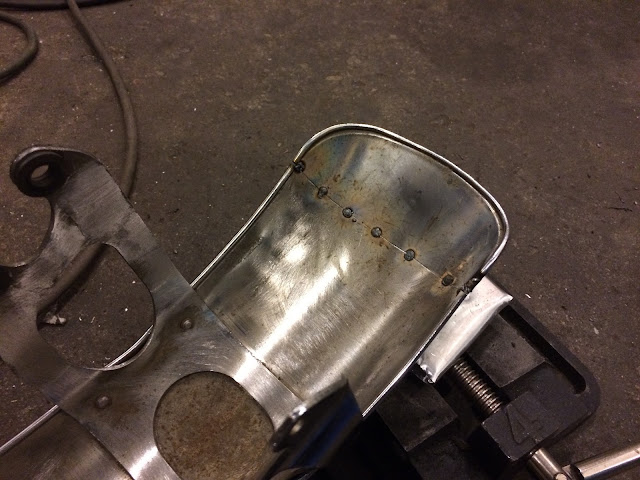
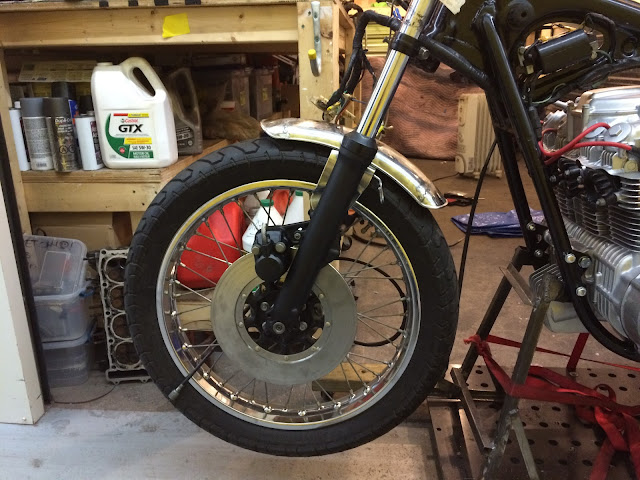
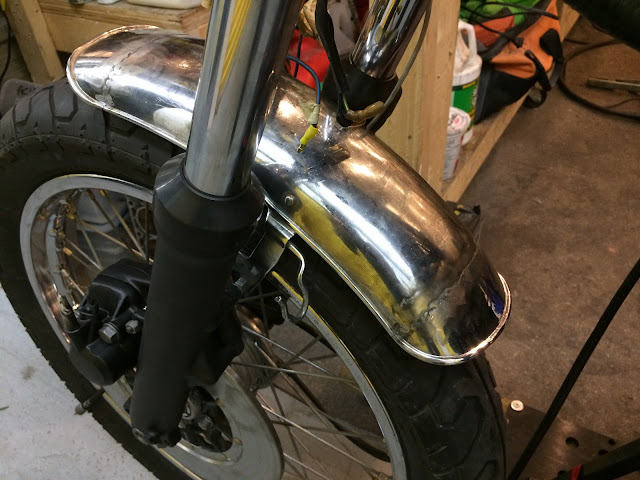
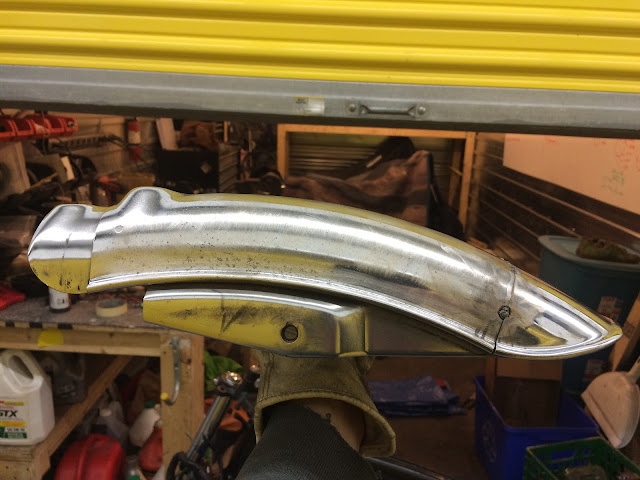
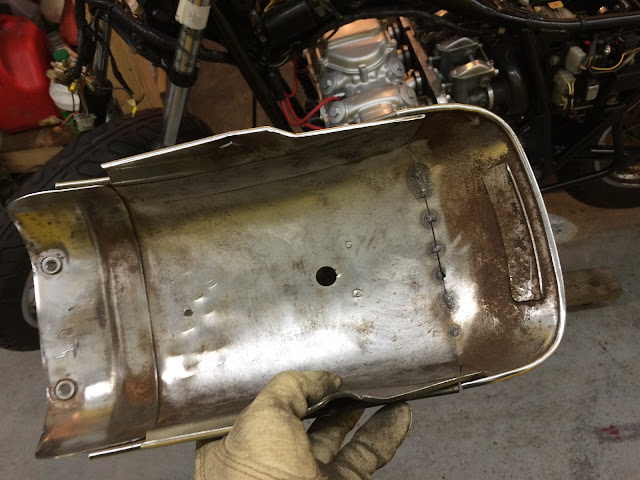
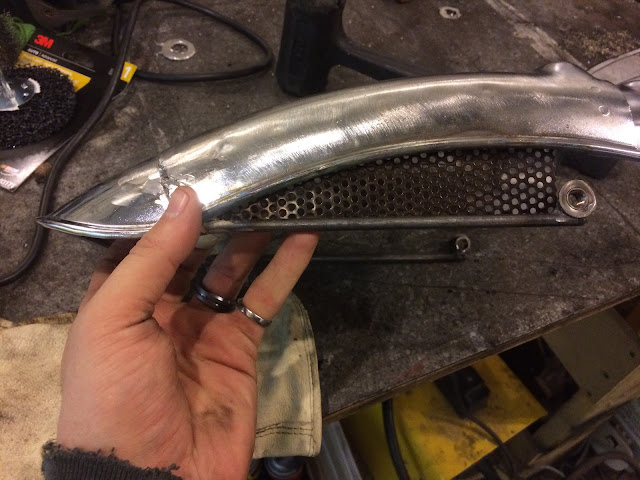
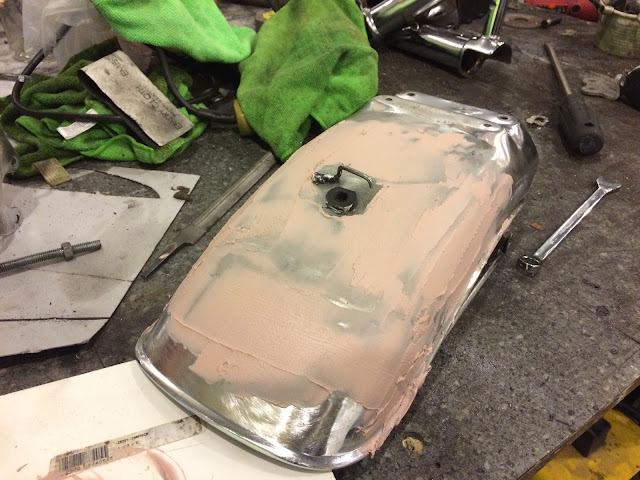
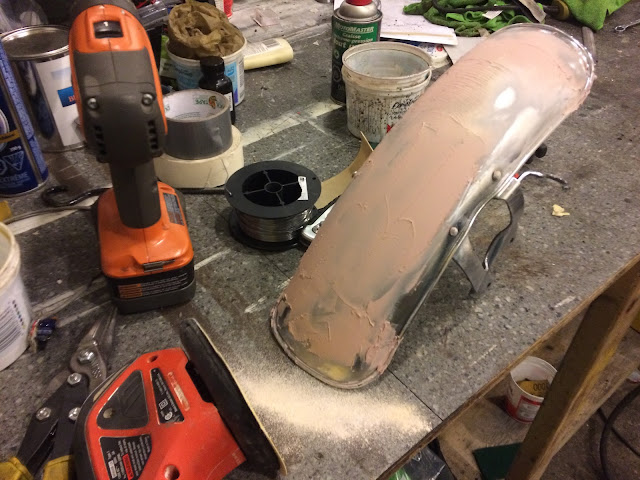
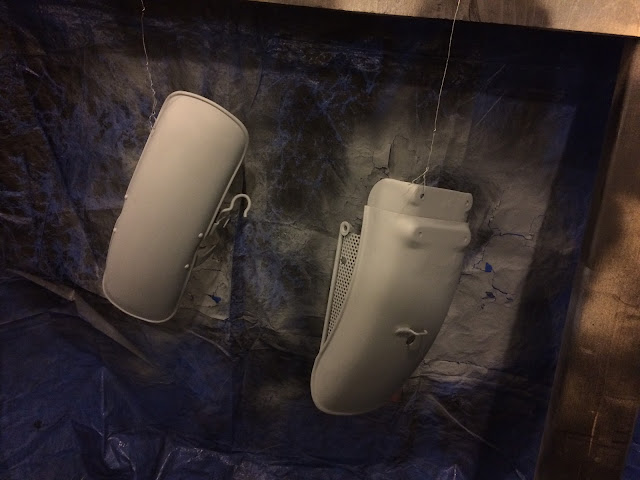
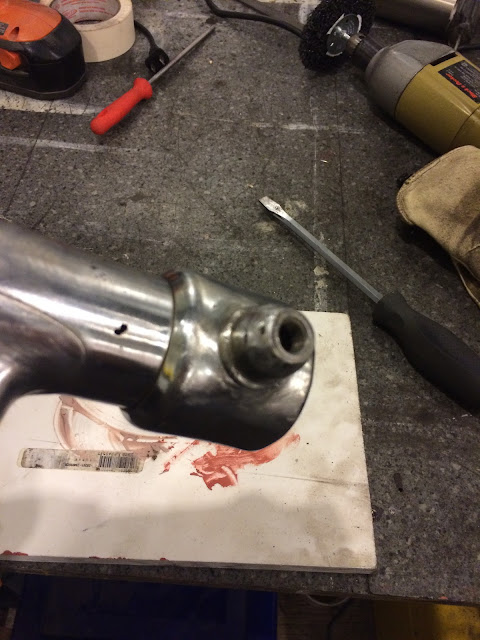
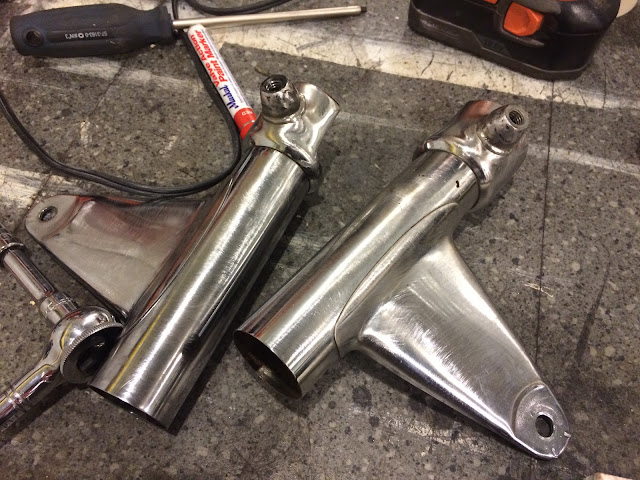
I made a point to not cut the stock pieces, but to buy other (more ******) versions of the stock parts so that I can preserve the quality chrome that is on the stock parts. It means that it will take a little more work to prep the surfaces for paint since they are more rusted, but it also means that none of the OE parts have been destroyed to get that custom look. I can bolt them all back on at a later date and have a stock looking bike very easily. With a bike like this (a classic), that is important to me.

blogger-image--95781267.jpg


blogger-image-1419642005.jpg


blogger-image--1651814363.jpg


blogger-image--726720614.jpg
 
Started cutting up and rewelding the fenders. I have shortened the front to about 1/3rd its original length, and the rear one to about 1/2 its original length.

I shortened them in the middle of the fender so that I could re-use the tips. This way, it keeps that nice factory rolled edge to it, so it retains a little bit of its OE-ness.


The general plan is to cut em, then bondo them, then paint them. They will be painted semi-gloss black when its all said and done.


Front:
blogger-image-853168496.jpg


blogger-image--1226146037.jpg


blogger-image--353949235.jpg


Test fit to check out the lines. It is not bolted in, just sorta perched there, so the tire/fender gap isn't exactly correct.
blogger-image--1677808410.jpg


blogger-image-1082075701.jpg


Rear:
blogger-image--1770904895.jpg


blogger-image-2021621065.jpg


blogger-image--234416070.jpg


blogger-image--333527623.jpg


blogger-image--702394877.jpg


blogger-image-1995621672.jpg
 
Finishing up the rear fender with provisions for the indicators and a little homage to Classified Moto on the sides of the fenders.


Got my hands on some perforated SS mesh. Put it on as a little nod to Classified, since I really like their style.

blogger-image-1929826405.jpg


blogger-image--1693763628.jpg


blogger-image-547108616.jpg


blogger-image-1034504236.jpg


Tucked the indicators right up as close as possible to the seat. Im pleased with how stealth they look. Will look even better once the fender is blacked out.

blogger-image--346009485.jpg


blogger-image--269922453.jpg


Had to put wire control hooks on so that I can control the indicator wires.


All this should look really good with a little big of bondo and paint on it.

blogger-image-247819215.jpg


blogger-image--854290295.jpg


Primer'd and painted fenders, and building the new headlight/indicator setup on the front.

blogger-image--2140714256.jpg


blogger-image--446661659.jpg


Here what I did was cut off about 1 1/2" of the indicator arm and then weld on an M10 nut (after removing the chrome and zinc platings of course) so that the indicators I am going to use will thread onto the mounts.

This is what it looks like (sorry for potato cam photo here) after I did the cutting and grinding smooth, but before bondo.

blogger-image--755652224.jpg


blogger-image-256988572.jpg


blogger-image--2083645052.jpg


blogger-image-409943460.jpg
 
Self-Etching primer goes on the headlight ears after the bondo is shaped.

blogger-image--1332346192.jpg


blogger-image--1950827950.jpg


blogger-image--1698225960.jpg


I put the indicators on the rear fender as well. Now I can throw these on and get an idea of how they will look on the bike.

blogger-image-1588824396.jpg


blogger-image-840168910.jpg


blogger-image-1102463436.jpg


The indicators are nicely tucked in and they hide well in the black. Hopefully the front ones turn out just as nice

blogger-image-2036747455.jpg


blogger-image-854095536.jpg


Front fender is shortened and bolted onto the bike. I'm happy with it. Small enough to be clean-looking, but large enough to be functional.

blogger-image--127010564.jpg


blogger-image--159361177.jpg


blogger-image-1150884243.jpg


I may have missed this but are you mounting the brake light on the side?
 
no, i had a smaller CB light that I wanted to use, but i decided against it for a few reasons. I then ordered a new light, it should be here in a few weeks. its one of those smaller round bobber-type ones, and i will mount it and the plate at the end of the fender (similar to stock location).
like this infact *not my photo, grabbed it off insta*
12298922_480868982083218_1746573087_n.jpg
 
I like that tail light. Nice look. The seat on that Insta pic looks really nice too. You keeping the stock seat?

Sent from a Samsung Galaxy far, far away using Tapatalk
 
yeah, im gonna keep both. i bought that flat seat (its a cheap asian re-pop), and kept the original stepped seat. it has a tear in the leather.

my plan is to ride it with the flat seat for a bit until i can shave down the stepped part in the original seat and get it reupholstered in some nice leather. Its not critical to the build though, so I will just do it over the summer when i find a good contact that can do that.

in closing, yes, im keeping both for now. ideally i want to run with the OE seat pan since the re-pop doesnt fit as tightly as i want it to.
 
In case I didn't already say it, very nice work. Wish I was able to do something like that.

Sent from a Samsung Galaxy far, far away using Tapatalk
 
thank man. i appreciate it.

i post this stuff up mainly because its stuff that i like to look at (i love reading build blogs and stuff), but also to show ppl like me that its possible to just go out and do this stuff with a workshop in a storage unit and crappy tools for CT and P-Auto, no one needs a full shop to get started. its cool to see people liking it though.
 
Hi thirstforspeed!
That's so kewl, the rear fender and turnsignal assembly all in the satin black. Looks awesome.
And I love the little mesh detail, it all comes together beautifully.
Interesting to see what you wished to do to the front fender though?

Back in the day we would buy these little rubber extenders. They would attach (two screws) to the bottom of the front fender.
When in place, the end of it wasn't that far off the ground. Protection was 'improved'.
(But I don't think I really understood the concept of Unsprung Weight back then, I was just a yoot and didn't understand yet that all that junk you're hanging onto your front wheel/fender etc. has to go up & down over every little bump and ripple in the roadway...)

Anyway your front fender is a style thing, right?
Because it won't function anymore for actually riding on wet roads!
Or I guess you could put one of my rubber things on it now, LoL.
Good for you, getting that paint to stick to all the bright metal bodywork. Must have been a lot of prep.

I need a winter project but first I need a garage.
Not much of a winter this year so far... (famous last words - there's still time).
On the other hand, spring is coming like a freight train, only a few weeks away!
So thanks, it has been nice to follow your work on the K. :)

I have a 'famous' photo here, I had it enlarged from the original 35mm negative (which I still have) by Silvano's back in the day, and it has hung on various walls for over 30 years...
Me and my tricked-out CB750 circa 1979.
I really need to have this negative scanned and go digital with the photo...!
Wishing I could post the photo here, you'd probably get a kick out of it.
 
yeah, the front fender is a style thing mainly. I am not worried about spray onto the engine/headers at all, and i just want to limit the amount of spray that gets flung up into the headlight and riders face. The bike will be used almost exclusively in the city for commuting, and usually only during fair weather, no crazy trips during a downpour.

The ideal is to run without a fender at all (like my XV500), but since my wife will be riding this a lot of the time, i wanted to make it at least a little practical.

as for the paintwork, it was a lot of sanding to rough up the chrome, and then i used self-etch over top of the bondo (for better or worse). If the paint doesnt stick, then i might try flat black plasti-dip as an alternative. it seems like it will work tho.
 
Did some body work prep, and finally took the bike off the stands. It is now a rolling chassis.

Still lots for work to be done though.

blogger-image--1394850099.jpg


blogger-image-1480309674.jpg


blogger-image--367530177.jpg


blogger-image--1903668368.jpg


blogger-image-1644730773.jpg


blogger-image-1521730379.jpg


blogger-image--307419913.jpg


She's a roller now. Officially.
The rear looks to be a little high. I don't know if it will be comfortable at low speeds. That can be modified later with shorter shocks though.

blogger-image--1241432144.jpg


blogger-image--1977957928.jpg


blogger-image--1999462633.jpg


blogger-image-31760222.jpg


blogger-image-937891219.jpg
 

Back
Top Bottom