
|
|
|
You are using an out of date browser. It may not display this or other websites correctly.
You should upgrade or use an alternative browser.
You should upgrade or use an alternative browser.
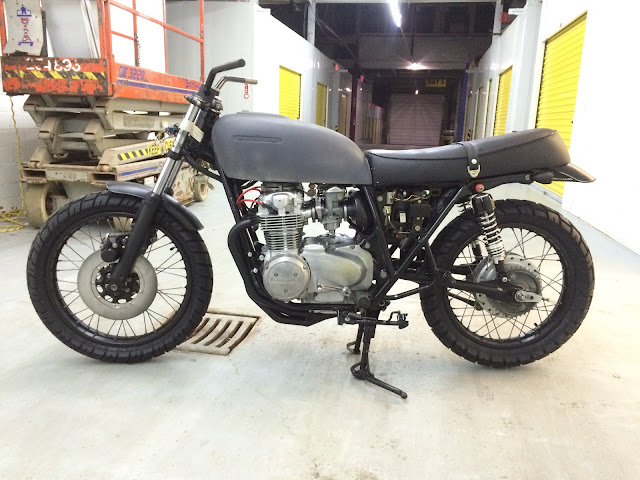
1978 CB550K Restomod
- Thread starter thirstforspeed
- Start date
thirstforspeed
Well-known member
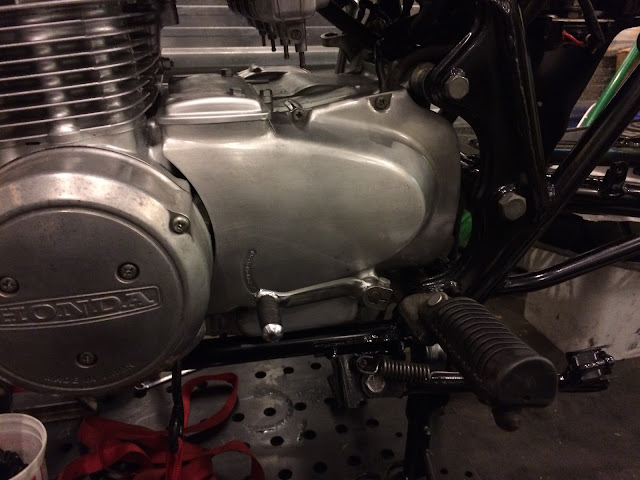
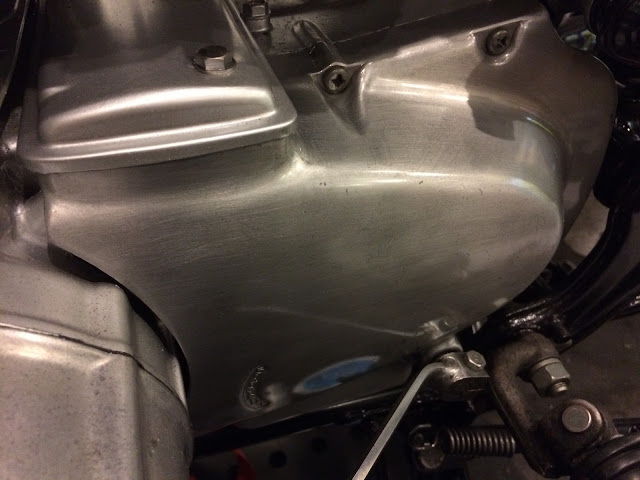
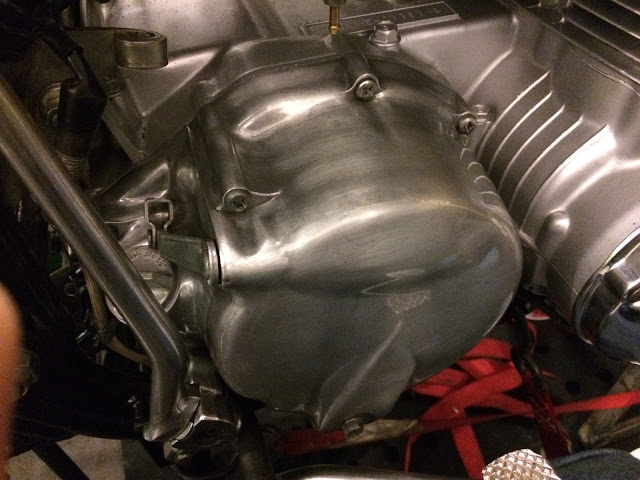
I also sanded/emery'd the case covers (chain side, clutch side, and brake drum cover so far, with the stator cover still to go).
I used a scour pad to get the grain all in the same direction, then clearcoated it all.


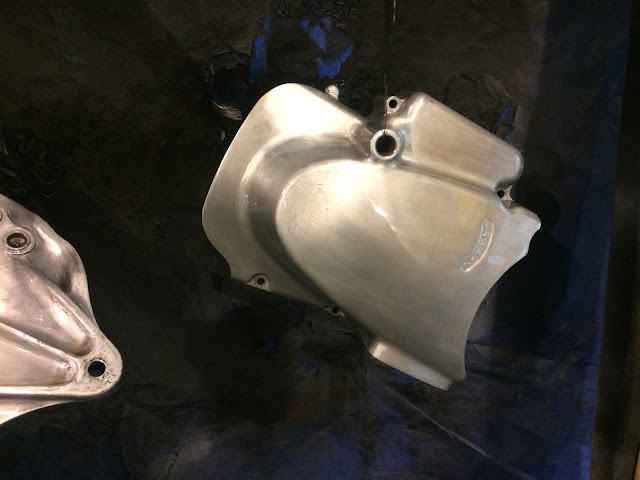
I also bought all new cables. No point in refurbing the stock ones, its not worth it.
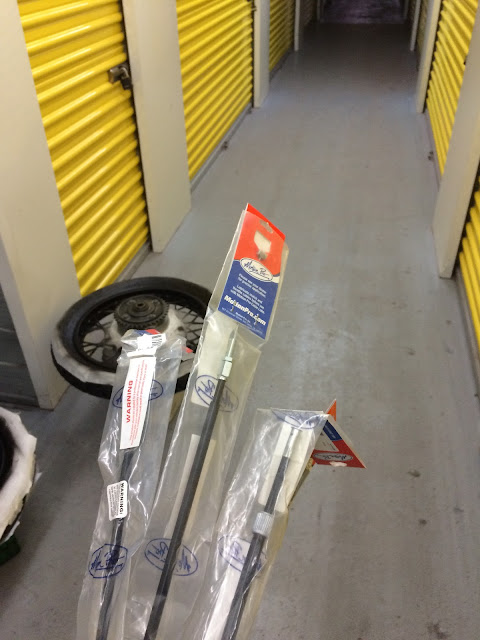

I used a scour pad to get the grain all in the same direction, then clearcoated it all.
I also bought all new cables. No point in refurbing the stock ones, its not worth it.
thirstforspeed
Well-known member
New Meats. Shinko 705s. F:110/80-19 and R:120/80-18
Need to black out the rims though. Plastidip is my friend here because I don't want to ruin the stock chrome. It is too nice.

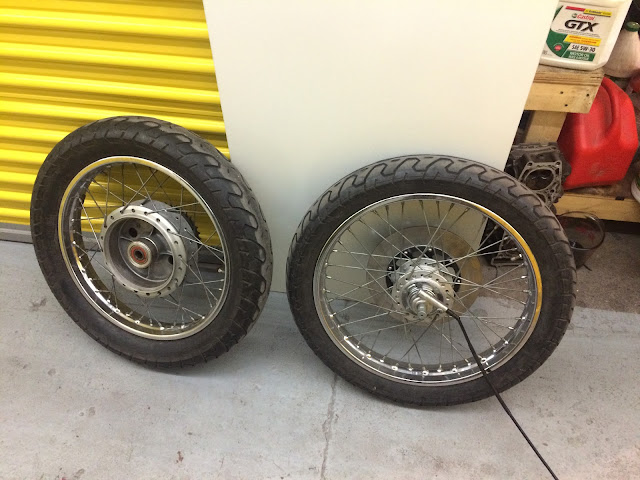
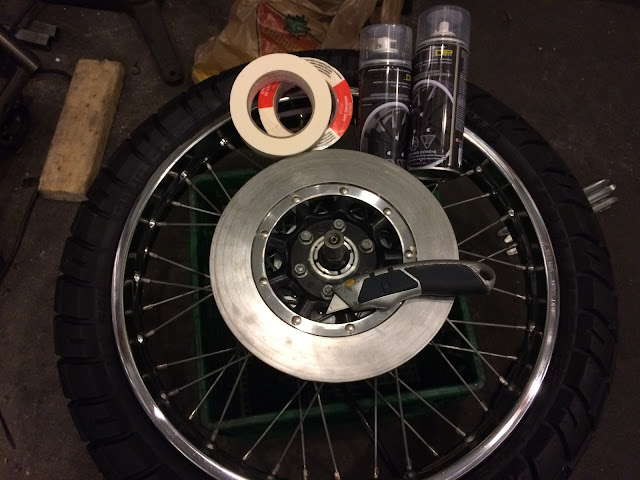


This is the surface finish on the wheels.


Need to black out the rims though. Plastidip is my friend here because I don't want to ruin the stock chrome. It is too nice.
This is the surface finish on the wheels.
thirstforspeed
Well-known member
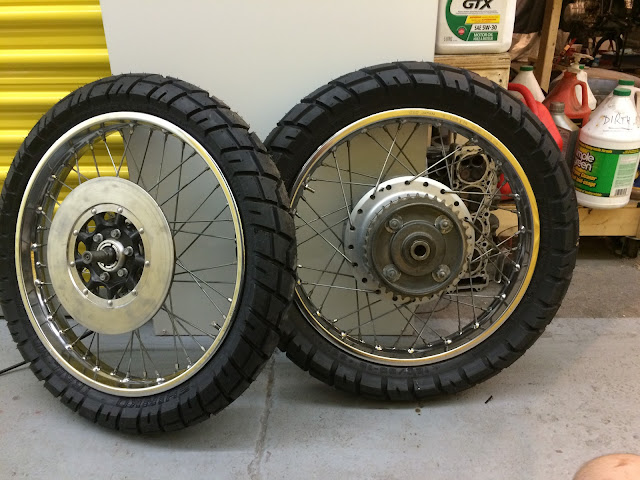
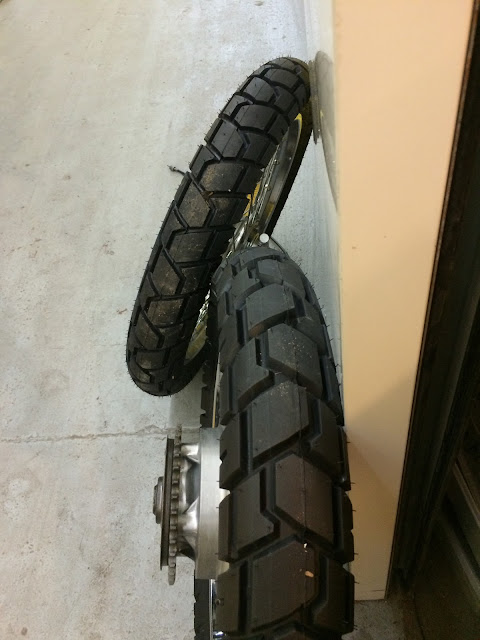
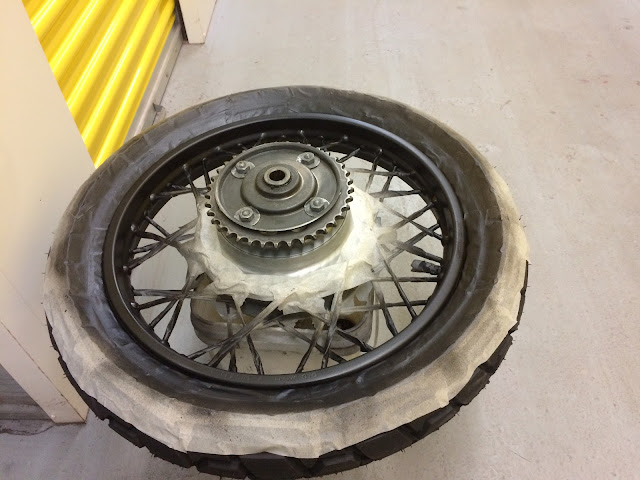
News Flash: its a giant pain in the ass to mask off each individual spoke. And then remove all that masking when the paint is dry. My fingers hurt now. It took me 4 straight hrs to remove all the masking. And about that much to put it on too.


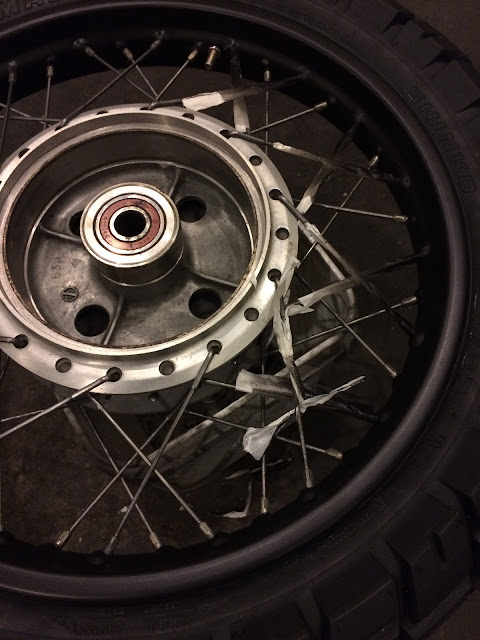
The wheel/tire combo is looking good though. Even better when they are on the bike.


The wheel/tire combo is looking good though. Even better when they are on the bike.
GateKeeper
Well-known member
nice work......
only thing I would like to mention is you should not have put clear coat on the covers, over time it will yellow and you will have to strip it all off and start again, better if you left them and just cleaned up when required.....
I polished my covers to a mirror finish, and when they look a bit dull, I just get out a bit of metal polish on a rag a few rubs here and there and they look as good as when I did them the first time...
just something to consider..
Bike is looking fantastic. Love to do this one day.
Sandman124
Active member
Thanks for taking the time to share your build ! Its been great watching the bike come to life
thirstforspeed
Well-known member
my pleasure. i like to read this stuff, so i assume others do too, so it would be a shame to deprive others of pretty pictures of what i get up to in my workshop if they want to see it.
thirstforspeed
Well-known member
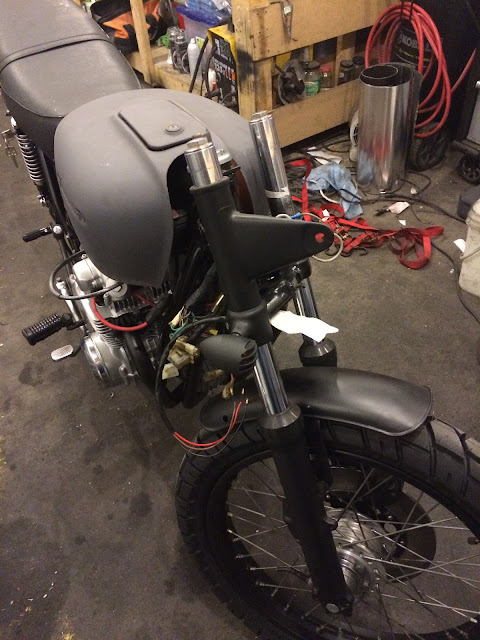
Finally got my headlight ears and front turn signals on


thirstforspeed
Well-known member
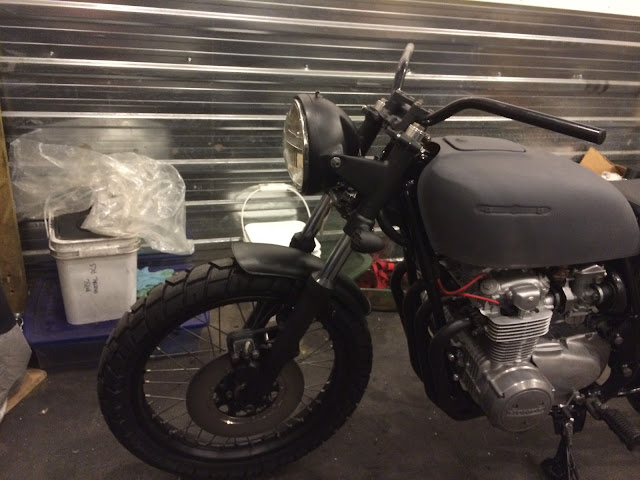
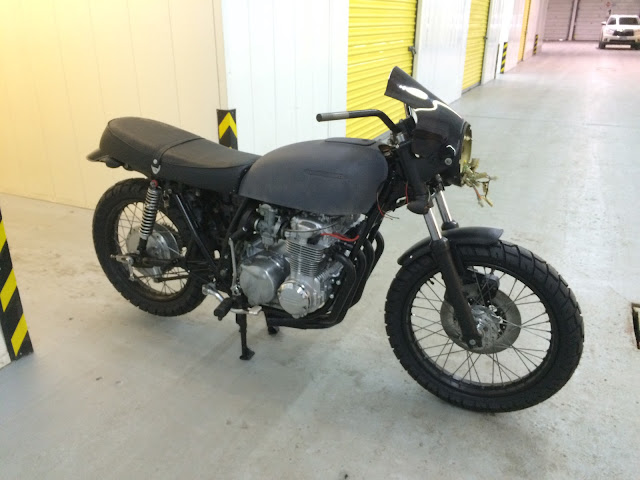
What's the feeling on this windshield/fly screen? Im not sold on it, but sorta like the idea of a little extra protection. I intend to re-shape the profile of the top of the windshield so its more like a simple fly screen.
Without:
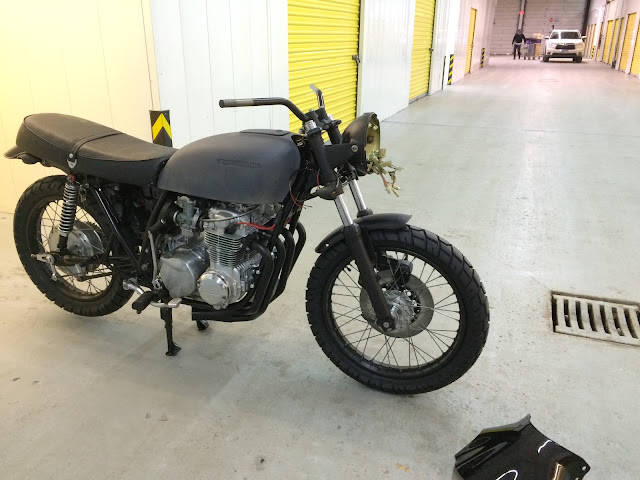

With:

Without:
With:
I would vote go without the fairing.
superseven
Well-known member
I like the fairing, adds a slightly different element than what I have seen others do
Respectfully, doesn't that take 30 seconds to remove/install anywho? What's the risk here?
thirstforspeed
Well-known member
once its on it is trivial to re/re, but to install it I would have to put additional holes in the headlight ears. I dont want to do this unless im committed to it, and I dont know if im committed to it yet.
Sandman124
Active member
I like it, just needs to be shaved down
thirstforspeed
Well-known member
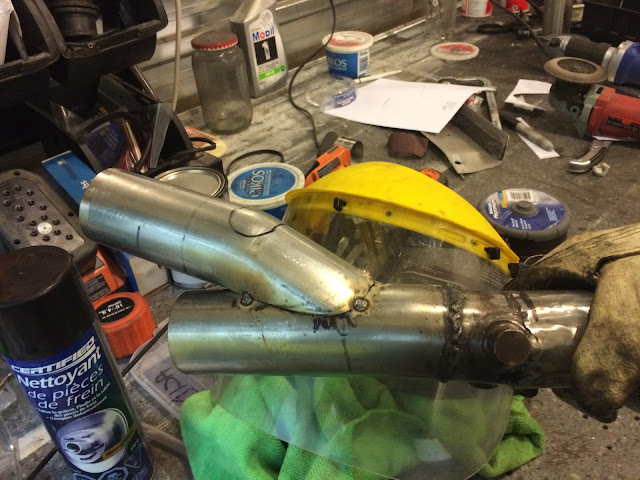
Here are the raw materials for the exhaust that I want to build. The bends are Vibrant 2" x .065" wall SS bends (U-J Bend PN 2605, 15deg bend PN 13126). The header is from an 06 GSXR750. I only want that for the butterfly valve in it.
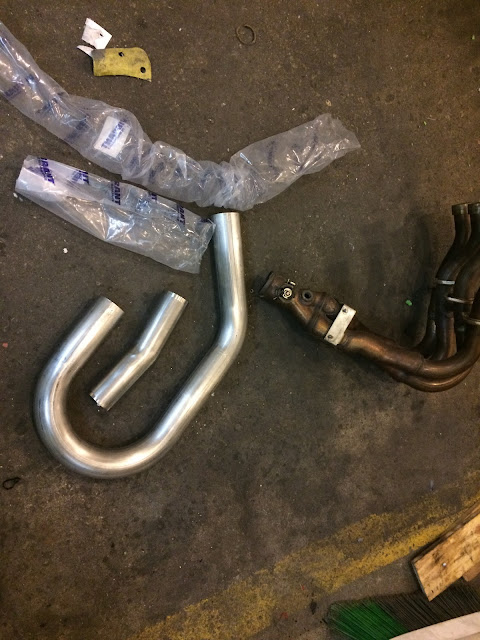


This is what the lower pipe will look like. If you recall, the muffs are Cone Eng 2" SS shortys. I have 2 of them.

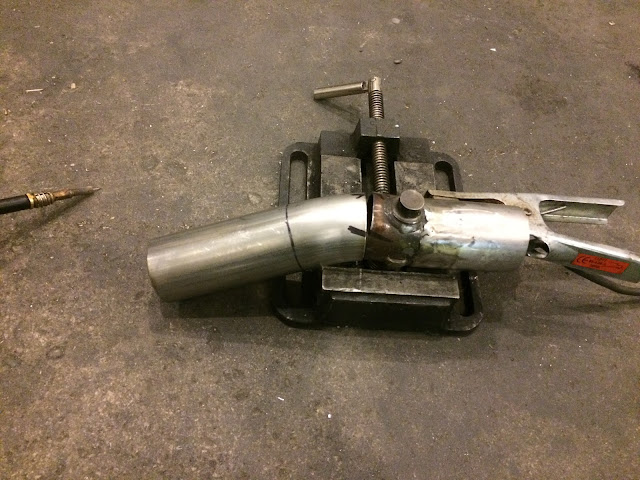
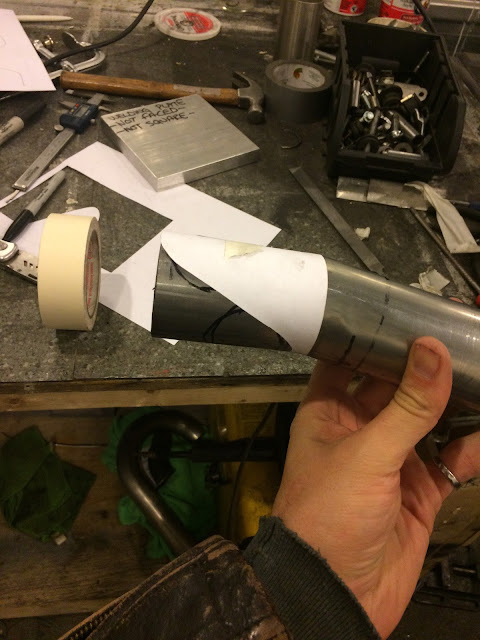
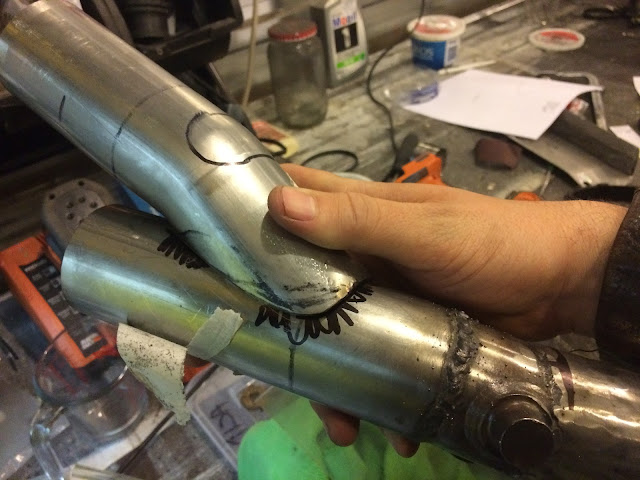
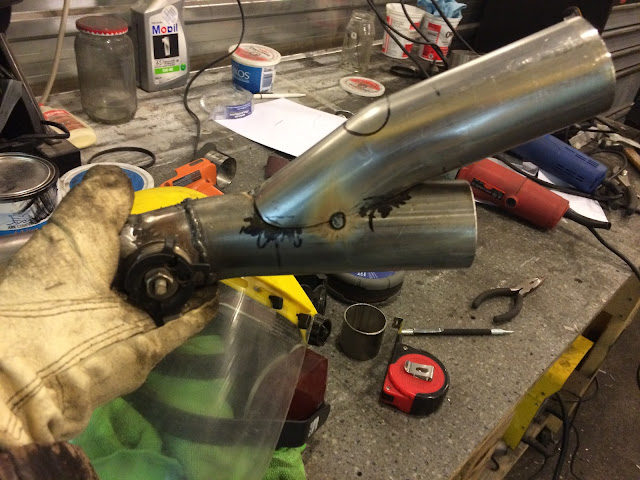
To create the pipe junction for the top tube, I needed to mate the 15* bend at an angle of 35* in order to have a muffler angle of 20*. There is a website that can generate the coping profile on a to-scale pdf (http://www.blocklayer.com/pipe-notchingeng.aspx). Print off the template and wrap it around the pipe to transfer the profile. It gets you 95% of the way there, the only thing remaining is to use a flap wheel or die grinder to get the fit-up just right.


This is what the general idea is for the exhaust. I wanted it to take a little inspiration from the stock pipes, but also throw in some wackyAkira boso homage and some Japanese Brat HD vibes.


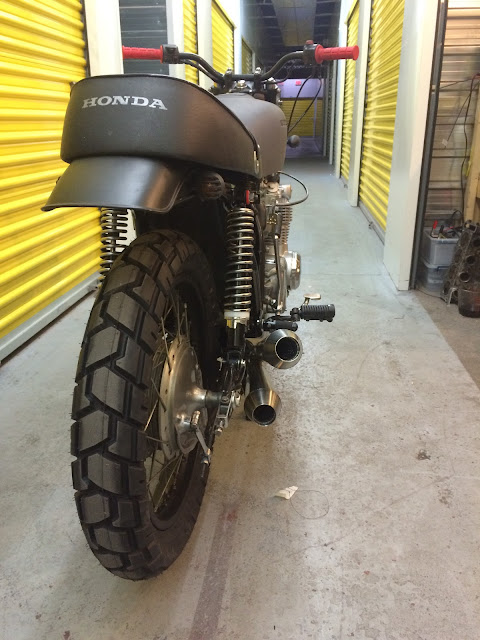

I had to remove the passenger pegs, and still have to fabricate the hanger/mounts and the butterfly actuation mounts, but the idea is there. I am pleased with it. I will hold the mufflers on with springs, and paint the mid-pipe black to blend in with the header. The mufflers stay raw SS.
This is what the lower pipe will look like. If you recall, the muffs are Cone Eng 2" SS shortys. I have 2 of them.
To create the pipe junction for the top tube, I needed to mate the 15* bend at an angle of 35* in order to have a muffler angle of 20*. There is a website that can generate the coping profile on a to-scale pdf (http://www.blocklayer.com/pipe-notchingeng.aspx). Print off the template and wrap it around the pipe to transfer the profile. It gets you 95% of the way there, the only thing remaining is to use a flap wheel or die grinder to get the fit-up just right.
This is what the general idea is for the exhaust. I wanted it to take a little inspiration from the stock pipes, but also throw in some wackyAkira boso homage and some Japanese Brat HD vibes.
I had to remove the passenger pegs, and still have to fabricate the hanger/mounts and the butterfly actuation mounts, but the idea is there. I am pleased with it. I will hold the mufflers on with springs, and paint the mid-pipe black to blend in with the header. The mufflers stay raw SS.
thirstforspeed
Well-known member
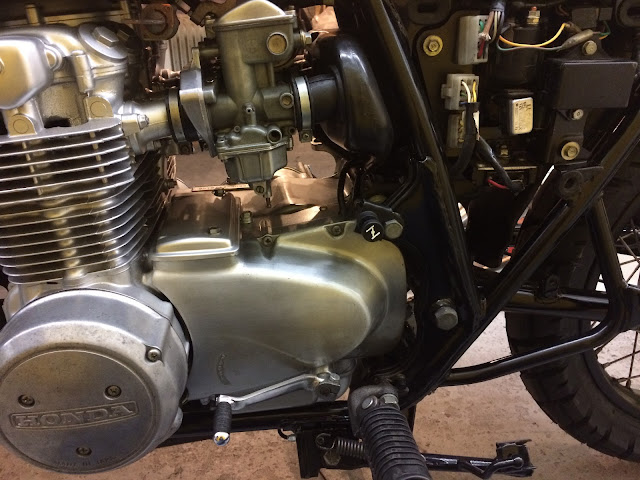
Here is more detail on the exhaust butterfly I made for the exhaust. It is actuated by another choke cable (because it has firm detents in it that hold the cable in place). I mounted it on the frame just below the air box manifold that feeds the carbs.
It is normally open, and when you pull the choke cable, it closes to muffle the exhaust a bit more. It is intended to allow me to start and warm it up in my driveway without waking the neighbours. I don't _know_ that it will work, but it should.


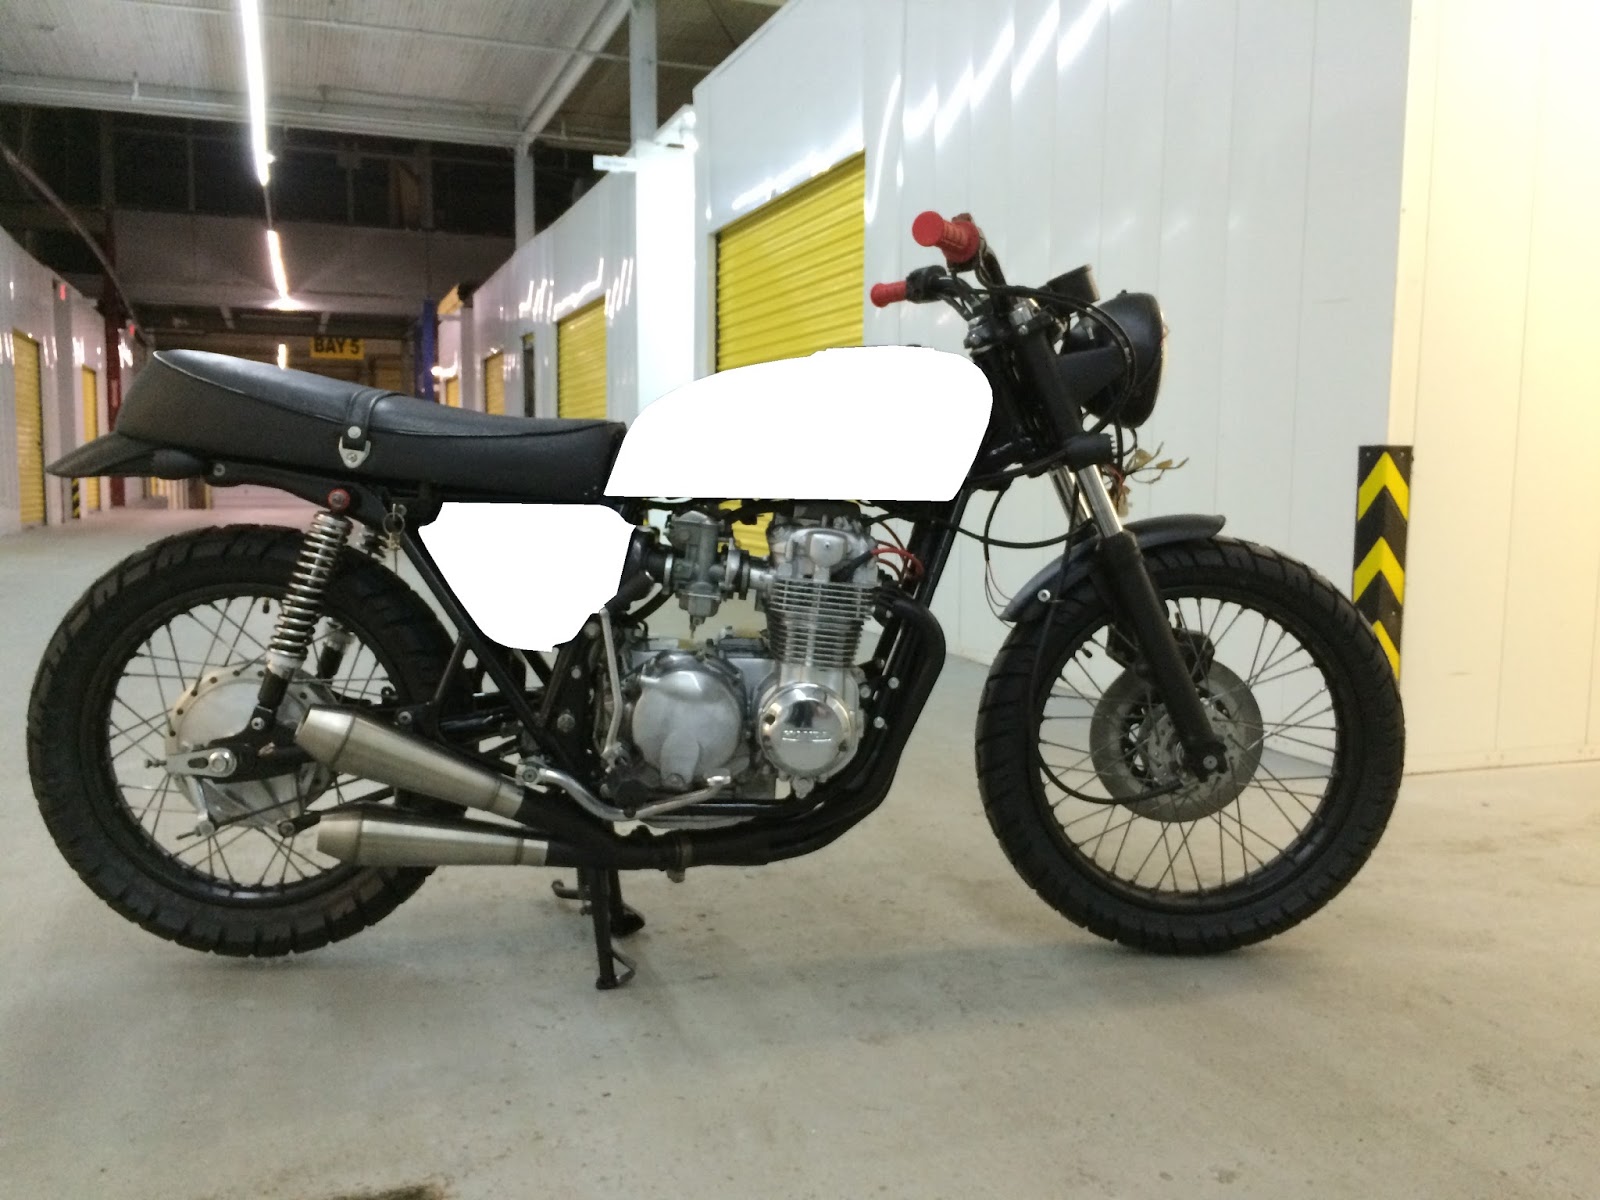
Also, here is a (crappy) concept of the bike with a white tank and side covers. This is what I want to paint it like, and will start on this week.
Cream:
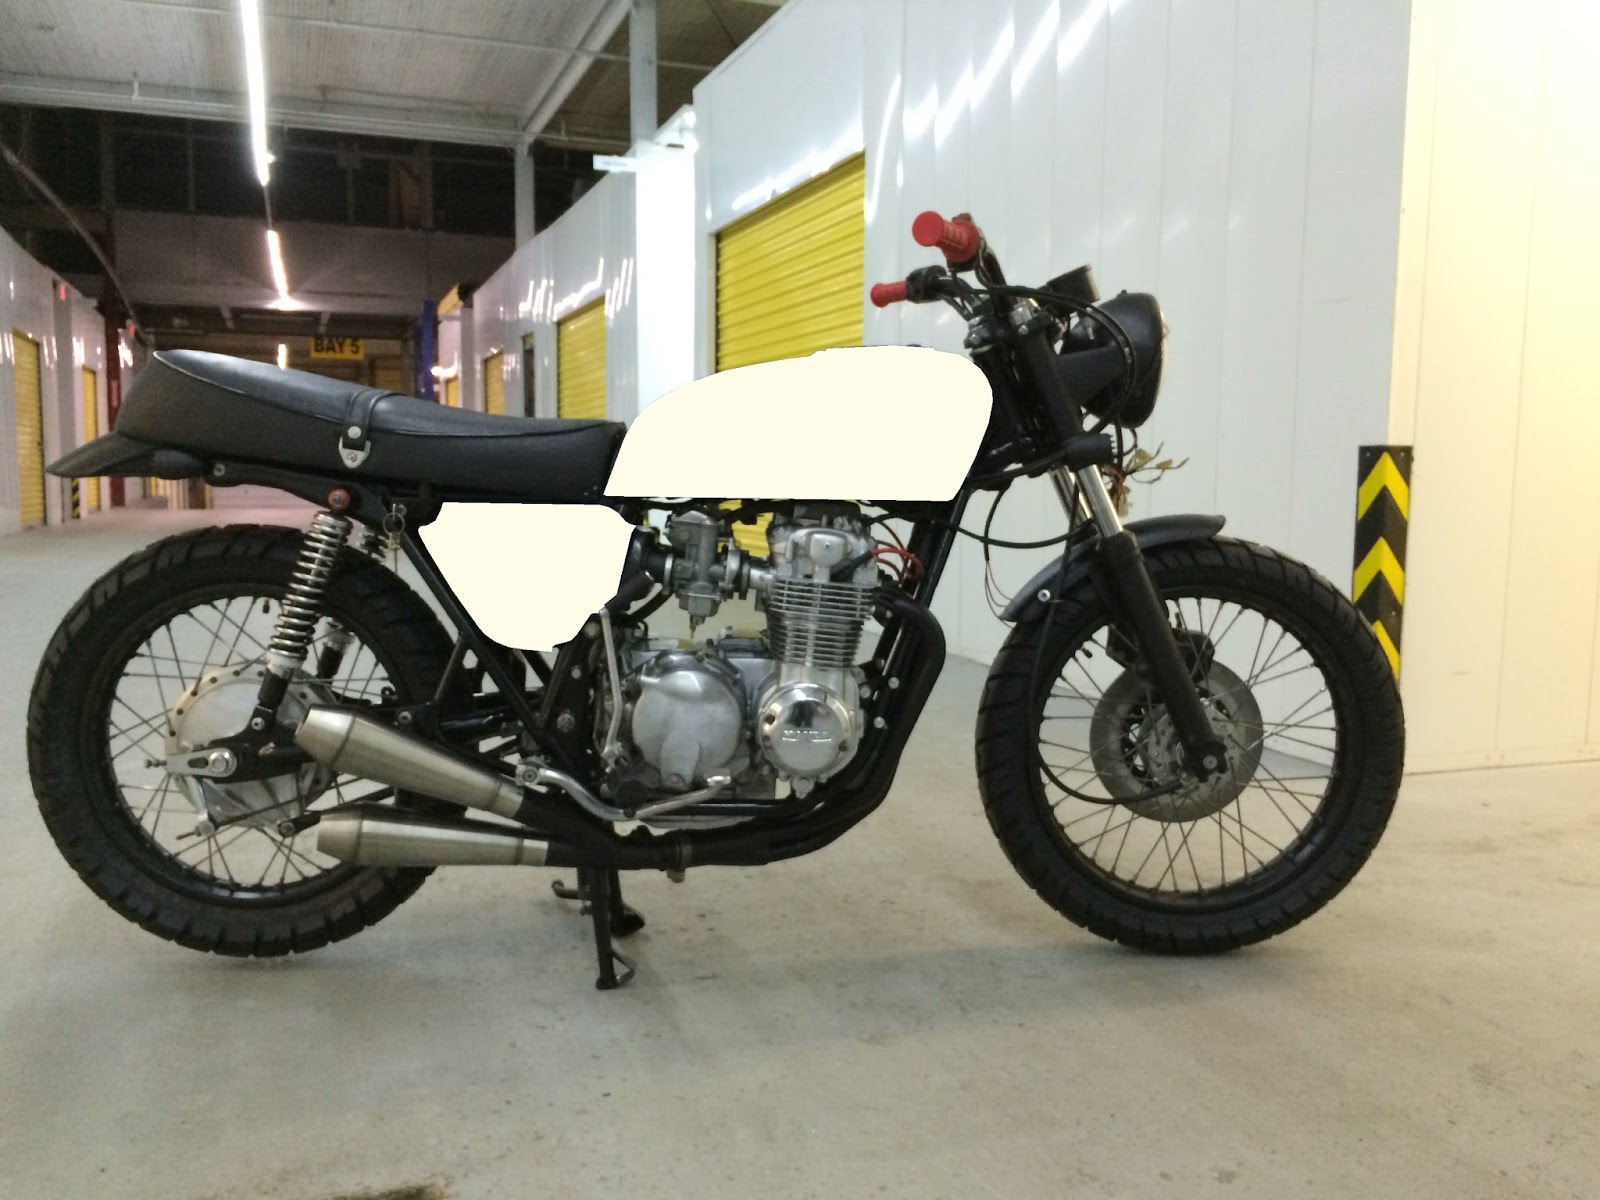
White:
It is normally open, and when you pull the choke cable, it closes to muffle the exhaust a bit more. It is intended to allow me to start and warm it up in my driveway without waking the neighbours. I don't _know_ that it will work, but it should.
Also, here is a (crappy) concept of the bike with a white tank and side covers. This is what I want to paint it like, and will start on this week.
Cream:
White:
|
|
|
|
|