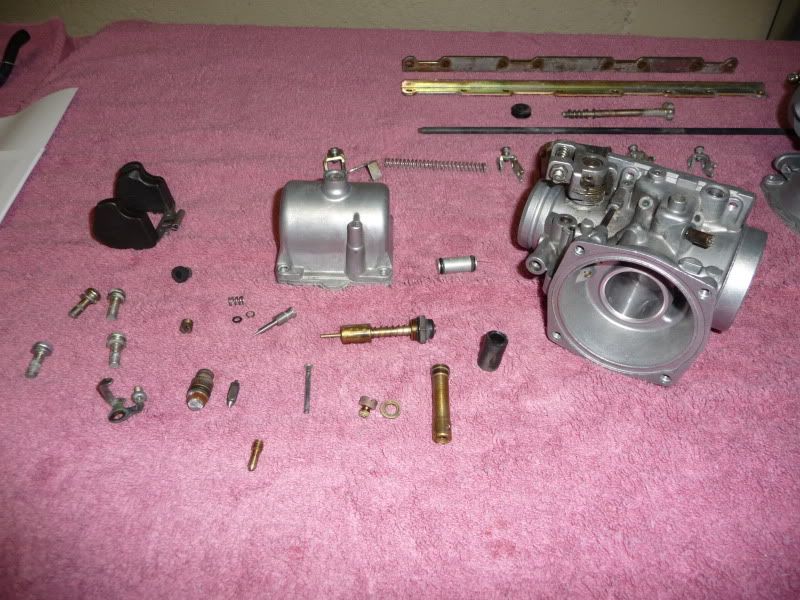
If you're touching the pilot jets or main jets, remember how much turn-in it was at. If you don't it will be a pain to bring it back to oem if you messed up. Don't touch the jets if you don't understand what you're doing
The air / fuel mixture screw and Idle screws are the only ones requiring any attention in this manner. The pilot and main jets are simply bottomed out and torqued as required.
Cleaning carburetors can be a substantial task, removing / reinstalling them from the bike is often enough to discourage the below average shade tree mechanic once they've seen it done.
There is the risk of damaging components on installation and removal. The boots from the air box to the carburetors can be very delicate on some brands and in some cases poorly supported with replacement parts by the original manufacturer (cough, cough, Yamaha/Kawasaki), not to mention replacement costs.
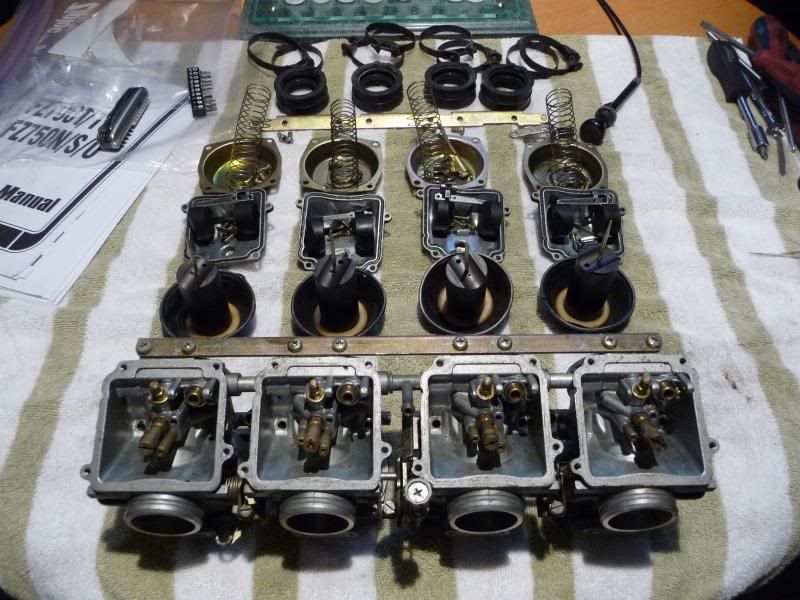
Once removed, organization is everything. If working on a bank of 4 carburetors, you MUST identify each carburetor (simply mark each body and bowl with a unique number, say 1-4 starting left to right as mounted on the bike), and remove components in an orderly fashion so that they can be reinstalled into the same carburetor (4 margarine dishes, marked 1 - 4 works very well).
If you're simply looking to clean the carburetors, it is possible to do a reasonable job without removing the carburetors from the mounting rack (the fuel passages from one carb to the next won't benefit, but thats usually not an issue unless the bike has long been neglected).
As suggested, a manual specific to your model and a #2 JIS screwdriver (assuming the bike is of the 'big 4' japanese variety are good tools to help you along the way.
My personal favourite for bathing carburetor bodies was Pinesol, recently I've switched to 10% acid/vol (cleaning) vinegar. Using a chemical other than carburetor cleaner assumes you have the capacity to blow out the passages with compressed air.