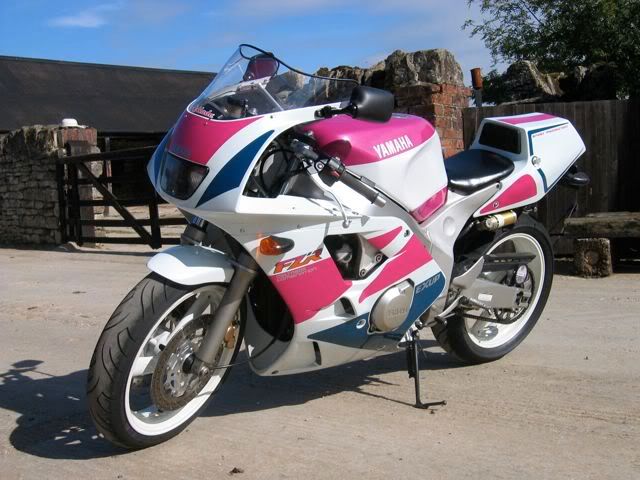
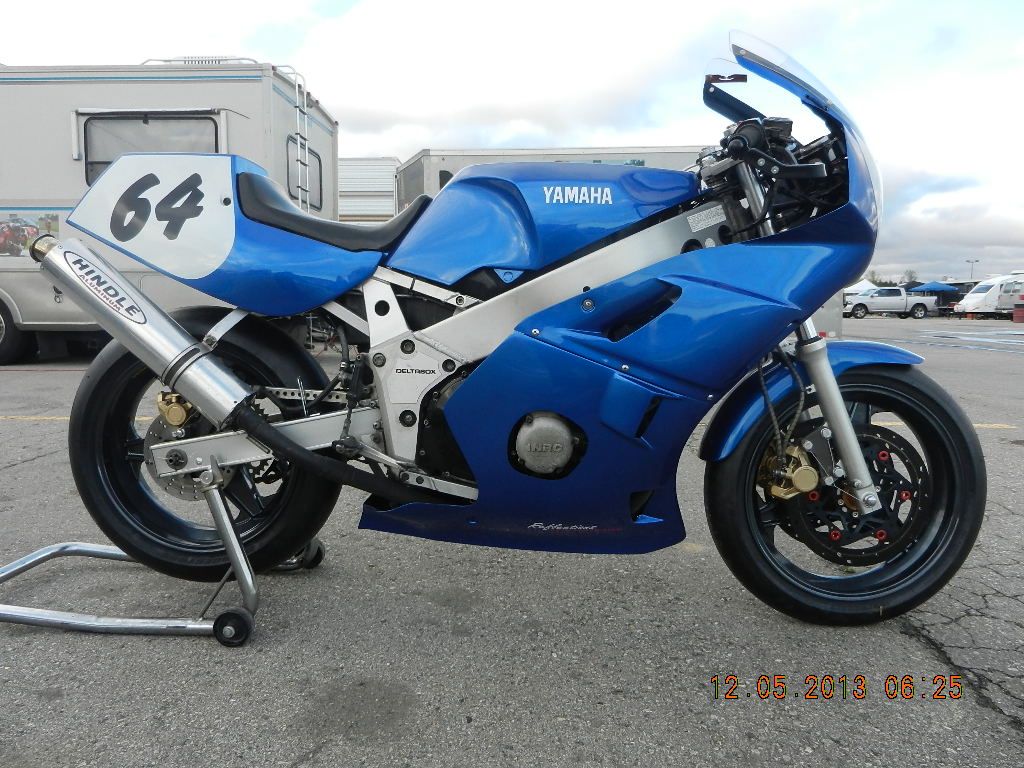
First, some inspiration. This is my vintage race bike,1989 Yamaha FZR400.
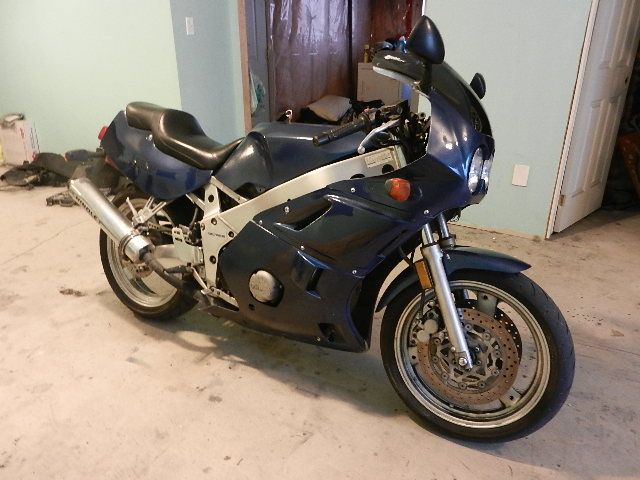
And this is the spare bike sitting in an empty workshop ...
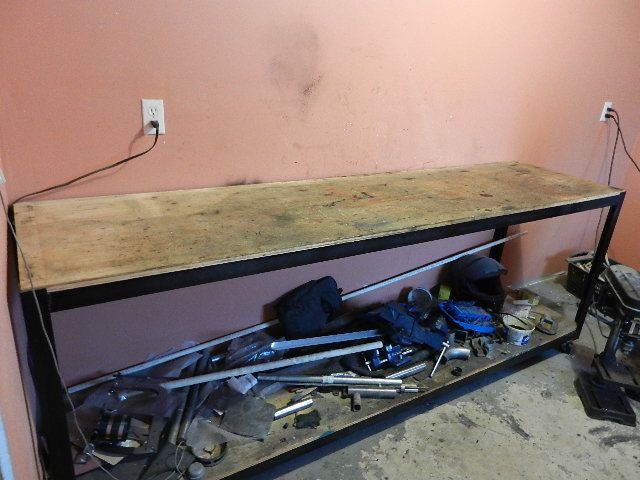
... with an empty workbench! (the top of it, anyhow)
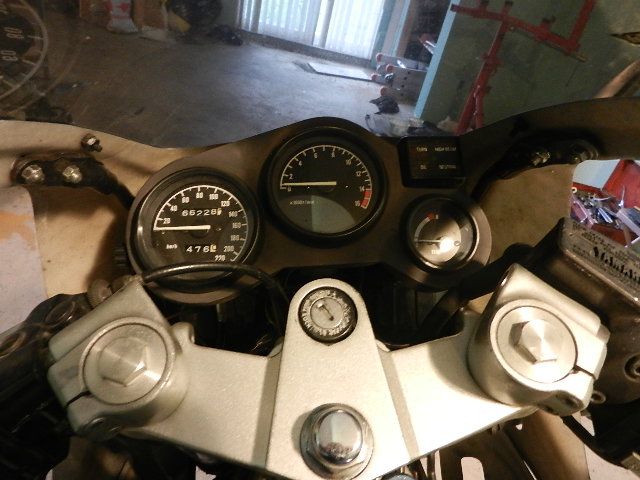
Odometer at time of project
History
This bike was originally from the USA. The original owner put about 5000 miles on it, then the second owner bought it and turned it into a race bike and rode it for 3 years. The engine had a rebuild at some point, presumably with the objective of more power ... more on this later (I don't even know what I'll find inside the engine). Then (in 2000) I bought it as a spare for my own race bike, and put it on the street. In order to have metric instruments, I installed the speedometer from my race bike, which showed around 25,000 km at the time. It has seen many Deals Gap trips, many Thursday night rides, one crash into a car that turned left in front of me in Tellico Plains TN, and now it's tired.
Known issues, unknowns, and the resulting to-do list
Gearbox shifting feels loose ... not unlike my race bike felt before 4th gear went boom. I'd rather fix it before 4th goes boom. I have another set of cases that has a lower-mileage shift drum and shift forks in it. But ... swapping these out requires splitting the crankcases.
The FZR400 engines were built by Yamaha with a ticking time bomb inside, in the form of two oil-restrictor jets that were only loosely screwed in. If they unscrew and back out against the back of the crankshaft main bearings, kaBOOM. Spun rod bearings. It is an easy fix once you split the crankcases ... I always put a drop of loctite on them and screw them all the way in. This engine has been apart in the past and it hasn't blown up. Was the issue dealt with? Only one way to find out ... split the cases!
It's known that the intake ports on this engine have been ported and polished. Unfortunately, that is not the thing to do with these. The stock ports are already too big. There's a reason that this engine has stayed in this bike and the other engine has stayed in the race bike! In fact, in this summer's rebuild on the race bike, I made the intake ports smaller. Add that to the to-do list here.
Aside from the engine ... The steering head bearings are shot. The lower triple clamp is bent (has been, the whole time I've owned the bike). The handlebars are bent. Left fork seal is blown. I have no idea what's inside the forks ... I suspect they're stock. There are a couple of minor (cosmetic) dings in the frame that I'd like to touch up. The remote reservoir for the rear shock is zip-tied to the subframe and I'd like to mount it properly. The spring on the rear shock is too soft, but I now have a take-off from my race bike that should do better. I'd like to install a lightweight lithium battery and that requires a different voltage regulator with a modification to the wiring harness. Obviously, that's only the stuff that I know right now.
Time for an overhaul.

And this is the spare bike sitting in an empty workshop ...

... with an empty workbench! (the top of it, anyhow)

Odometer at time of project

History
This bike was originally from the USA. The original owner put about 5000 miles on it, then the second owner bought it and turned it into a race bike and rode it for 3 years. The engine had a rebuild at some point, presumably with the objective of more power ... more on this later (I don't even know what I'll find inside the engine). Then (in 2000) I bought it as a spare for my own race bike, and put it on the street. In order to have metric instruments, I installed the speedometer from my race bike, which showed around 25,000 km at the time. It has seen many Deals Gap trips, many Thursday night rides, one crash into a car that turned left in front of me in Tellico Plains TN, and now it's tired.
Known issues, unknowns, and the resulting to-do list
Gearbox shifting feels loose ... not unlike my race bike felt before 4th gear went boom. I'd rather fix it before 4th goes boom. I have another set of cases that has a lower-mileage shift drum and shift forks in it. But ... swapping these out requires splitting the crankcases.
The FZR400 engines were built by Yamaha with a ticking time bomb inside, in the form of two oil-restrictor jets that were only loosely screwed in. If they unscrew and back out against the back of the crankshaft main bearings, kaBOOM. Spun rod bearings. It is an easy fix once you split the crankcases ... I always put a drop of loctite on them and screw them all the way in. This engine has been apart in the past and it hasn't blown up. Was the issue dealt with? Only one way to find out ... split the cases!
It's known that the intake ports on this engine have been ported and polished. Unfortunately, that is not the thing to do with these. The stock ports are already too big. There's a reason that this engine has stayed in this bike and the other engine has stayed in the race bike! In fact, in this summer's rebuild on the race bike, I made the intake ports smaller. Add that to the to-do list here.
Aside from the engine ... The steering head bearings are shot. The lower triple clamp is bent (has been, the whole time I've owned the bike). The handlebars are bent. Left fork seal is blown. I have no idea what's inside the forks ... I suspect they're stock. There are a couple of minor (cosmetic) dings in the frame that I'd like to touch up. The remote reservoir for the rear shock is zip-tied to the subframe and I'd like to mount it properly. The spring on the rear shock is too soft, but I now have a take-off from my race bike that should do better. I'd like to install a lightweight lithium battery and that requires a different voltage regulator with a modification to the wiring harness. Obviously, that's only the stuff that I know right now.
Time for an overhaul.


")