CBR125 Dirty Bars Project | Page 2 | GTAMotorcycle.com

CBR125 Dirty Bars Project

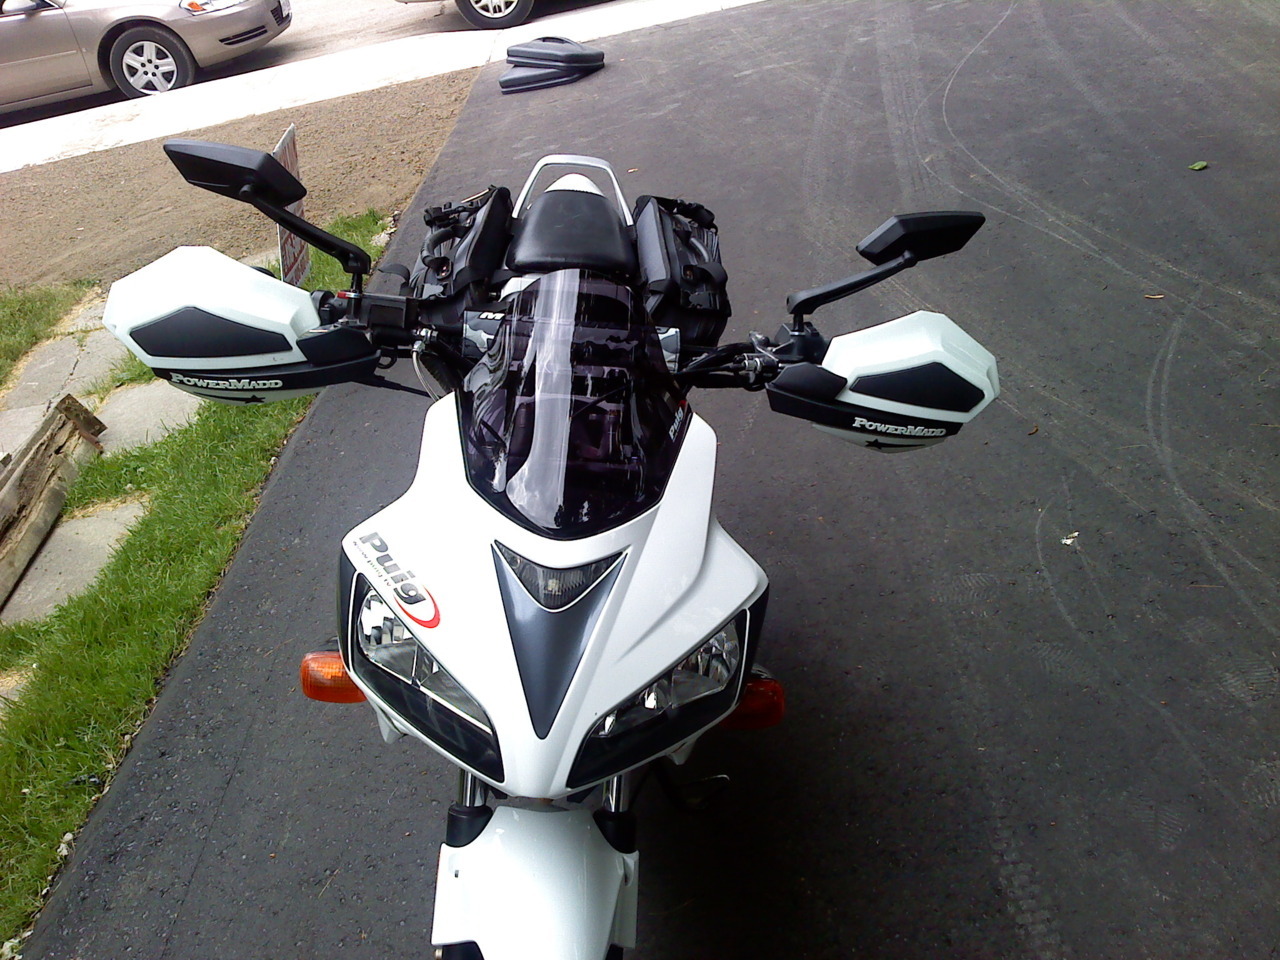
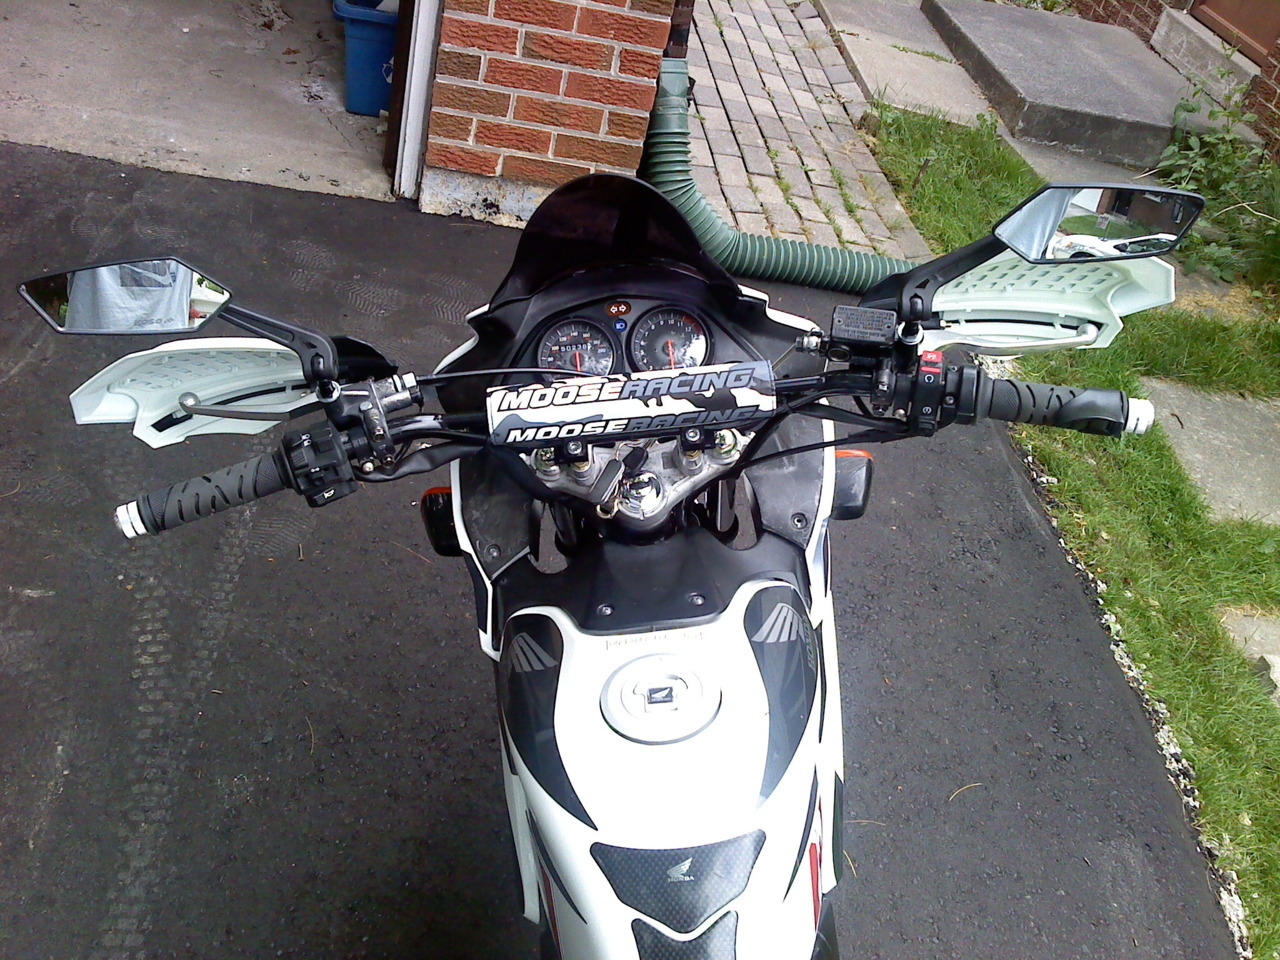
Thanks... I think? The only thing I actually broke today was the plastic ring for the gauges; that was actually during my first attempt at bending the birds nest back by smacking it with a rubber mallet (obviously a bad idea... 20/20 hindsight). Everything else was already damaged from all the times the bike was dropped in the past. I was still thinking about possibly going the route to replace the entire stock headlight with a dual-sport headlight kit. I could probably save a $h!t ton of money that way, but I would seriously miss the sport "cat's eye" look that makes the CBR so trademark. Plus, the CBR headlights are FAR superior to any other headlight I could find. I have a buddy who has HID bulbs in his ZX-7 and it still doesn't even come close to how bright mine are, and that's only with one headlight at a time (because the stock configuration turns off the low-beam when you turn on the high-beam but that will be changed very soon).

It only just hit me now when I calculated it up for how much money I could save by not choosing to do all the optional mods. Then again, this whole handlebar replacement is entirely optional in the first place I suppose. But it just sucks that I'm finding out about all these underlying problems with the front fairings at this point in time. I would actually be within a reasonable budget, if it weren't for that...

I'm definitely not in over my head yet financially, but I'm really starting to feel the cold water on my ankles.
 
Last edited:
More progress! I'm 99.9% done!

I replaced my front fairings. They were a little frustrating to get back on, because I had to constantly fiddle with the birds nest, bending it back and forth. But I got it done and they look fantastic, compared to my old cracked/bent one. I threw some grips on the handlebars, and drilled the alignment hole for my throttle.

I also fixed my cracked gauges from the abuse I gave it. It was just a matter of removing/unplugging the gauge cluster and unscrewing everything off it to replace the plastic backing. Then putting it all back together again

2n7jyhl.jpg


napg1.jpg


I plan on replacing the bulbs underneath with super bright LEDs. This is what it will look like when I'm done.

2v8mgs1.jpg


I received my extended cables and they fit properly, but they still weren't quite long enough to route them the way the stock cables were, so I made a straight path, rather than going through and under the forks. They have enough slack for the handlebars to turn fully both ways, and they wont catch on anything. Unfortunately, though, the guy at my shop couldn't find me brake lines. He said he could order a kit to make some, but those will cost me a lot. I know he's not ripping me off either, because he showed me the costs of parts and everything. He recommended me to take a trip over to a local place called Cummings Hydraulics, and see what they can do for me.

I went there, they measured everything and made up a braided stainless steel hose for me in less than an hour. It cost more than I expected at $70, but still cheaper. I brought them back to my shop and got him to help me put some brake fluid into the new hose.

25jk32w.jpg


After I got home, I realize the construction on my street had begun. This is what I need to ride over every time I decide to put the bike back in my garage. I couldn't have picked a better time to convert my bike to a dual-sport!

117tkrq.jpg


I probably wouldn't have made it over the new curb without the lowered forks to be honest. But while I had a chance, I decided to take some more pictures.

9gy39u.jpg


You can see how my throttle cable goes straight underneath, instead of through my forks and under like it should be. It works fine though.

155ihkn.jpg


I finally did the dual-headlight mod. It's literally as easy as soldering two wires together inside the switch on the handlebar. I still need to change the angle of my headlights, because they are slightly too high since I dropped the forks and raised the front end.

2mrekw4.jpg


All that I have planned now is to go pick up my white PowerMadd hand guards when my shop receives them. I'm going to mount them in between the grips and the mirrors, so that the mirrors end up being closer together. Then I need to get my vinyl CBR cover laminated and put some stick-on velcro to complete my masterpiece. :D
 
Last edited:
I know he's not ripping me off either, because he showed me the costs of parts and everything. He recommended me to take a trip over to a local place called Cummings Hydraulics, and see what they can do for me.

Sounds like a good place to do business with. What shop is that?
 
It's called Ignition Power Sports. It's at the intersection of Boyers road and Woodbine, just north of Keswick. The guy works there by himself, his name is Adam Price. Excellent guy to take your bike to. The number is 905-476-1906. Tell him Travis sent you... or just call me the guy with the dual-sport CBR125.

He literally can do any custom work you need, and order almost any part you can buy anywhere. And you're always talking directly to the mechanic himself so you can trust your bike is in good hands. I'm actually letting him borrow my bike for a week this summer, because he's going to fabricate me custom made engine guards, and possibly a skid plate too.
 
Good job. Are you going to raise the rear to match the front? You may end up with some headshake if not. Also, you should figure out something to protect the exhaust. One small hit could ruin your day.
 
I've taken the bike to 130km/h so far without any sign of shakiness. It's actually really comfy and stable. I have a ton more control too. I also noticed that my bike leans over more on the kickstand due to the raised front-end. I think it would lean over too much if I raised the rear-end.

Thanks for the suggestion though... depending on what happens, I may do it. But I would need to replace the entire rear shock, because the stock one isn't adjustable at all. That means more money for parts, and more time working on it. I'm happy with what I've done and I just wanna enjoy it for now. :)

But as for the exhaust... I may get my shop to fabricate me something.
 
Last edited:
Handguards installed... with just enough clearance for the fairing too.


4f0b6.jpg


34zj7lt.jpg


I think I'll take my time making the CBR bar pad cover. The Moose racing cover is satisfactory for now. I still have plans to buy a Puig touring windscreen, because the stock one looks pretty useless now with the high handlebars.
 
I borrowed my friend's GoPro HD Hero camera and made 2 videos. One is of me riding around, and another is showing a walk around for the bike.

[video=youtube;gzA2jVOSjXc]http://www.youtube.com/watch?v=gzA2jVOSjXc[/video]
 
Last edited:
By the way, I forgot to mention...

I rode to down town Toronto on Friday straight down Yonge street all the way to Lakeshore and I noticed a huge difference in how much more comfortable I am for longer rides. The upright seating position makes my back feel great, and my wrists/knees feel no discomfort at all. The only problem I was having is that the handlebars vibrated a lot more than I liked, making my hands start to go numb. I sort of expected this when I bought the $25 cheap carbon steel handlebars, instead of the $70+ alluminum alloy handlebars. But this is a really easy fix.


I went out to Canadian tire and bought some bonded seal cone-shaped rubber washers ($2) to replace the existing washers between the TRX handlebar clamp and the stock triple clamp.


WASHBONDEDMOM.JPG


Then I went and bought some vibration dampening bar ends ($15)


0000-K-S-Technologies-Anti-Vibration-Bar-Ends.jpg


The final product was nothing but astounding. There's virtually no vibration whatsoever... even less than the stock bars themselves.
 
Got the Puig Windscreen installed. And I figured out how to install a new Iridium spark plug (CR9EIX). I also decked the new fairings out in some fancy stickers from all the aftermarket stuff I acquired.

2ic43yu.jpg


2dmhyyw.jpg


New Spark Plug
Oooooh Shiny! ...not for long ;D

352gav5.jpg


Old Spark Plug
(After 49,000kms)

2m505dl.jpg


What time is it Mr. Wolf?
Time to ride!

312jomd.jpg


My ridiculously expensive GPS mount
I glued it on with some black waterproof tape underneath, so I can remove it without ruining the top of the brake master cylinder.

2pzbthc.jpg


Next step is installing 14 tooth sprocket when it arrives in the next few days. Still waiting on super bright red LED bulbs for the HUD. Also waiting on Koso mirrors.

Future possibilities:
(financially dependent, of course)

- Paint stock header pipe black (instead of the ugly rust color it currently is)
- Two Brothers slip-on exhaust
- CBR 150 Integrated tail light
- Adjustable rear shock (raised up or progressive, not sure)
- Progressive fork springs

P.S.
You can't see it in the picture, but around the edges of the electrode for the old Spark plug there are quite a lot of little white deposits. To my best understanding, when you see that on an old spark plug, that is usually a good indication that the engine is running too lean. Correct me if I'm wrong though. But I'm certainly not an expert motorcycle mechanic, so I wouldn't know for sure.

I only just modified (within the last 1000km) the airbox snorkel - by cutting it instead of removing it - so it wouldn't be a factor.

I'm wondering if there's any modification I can do to make the bike run more rich. Would replacing the exhaust to an aftermarket one without a baffle do the trick? Or would getting an ECU be a better route? Maybe both?
 
Last edited:
14 tooth sprocket installed, so now I've got a tiny bit more low-end power, but my top speed is now limited to 130km/h instead of 140. I notice big time when I'm climbing hills.

Koso mirrors installed. They look great, but unfortunately they shake like a dog ******** out razor blades because they're made of light plastic. But I really like the slim and spiky shape to them, and they look nicely with the hand guards too. So I'm probably just gonna keep them. But I did order a pair of KLR650 mirror vibration isolators to help make the reflective image quality better.

I also picked up some hand guard extensions, because the original pair didn't provide enough wind protection. I took them out today in 14 degree weather, which was pretty chilly, and my hands barely felt a thing. I also cut off the tabs of the original vent cover and it sanded down, then I just glued it onto the front of the extensions. I think it looks a lot better.

This is what they look like before:
34jdmw2.jpg


I think I'm pretty well done modding this monster. It already stands out really well from any other bike on the road enough as it is. I've gotten a lot of curious adventure bike riders with their 650 bikes stopping next to me at stop lights asking about it. I do plan on sanding down and painting the header pipe on the exhaust to be jet black, instead of the rusty color.

tumblr_m4urgyThfO1qhk4oao1_1280.jpg

tumblr_m4urgyThfO1qhk4oao2_1280.jpg

tumblr_m4urgyThfO1qhk4oao3_1280.jpg
 
Last edited:
For the record, THIS is exactly what I intended on doing with the handlebars and the headlight.

sf1x.jpg


And this would be a cool way to mount the gauges too.
(ignore the random arrows and stuff)

ist21666321motorcycleinu.jpg
 
Alright, I think I'm all ready for the 1500km camping trip up north coming up in July! The bike is in full touring mode now.

Everything fits, and it doesn't actually look too bad. The red backpack makes an excellent back rest. I may need to strap a pillow onto it :)

2z3z950.jpg
 
Last edited:
:confused:Is that safe or even legal to ride like that???? Very high centre of gravity.
 
I don't know how to properly answer that... so I'll leave you with this...

I've seen way worse done before:

207asgn.jpg


jhrmmf.jpg


il1v.jpg


PICT0426.jpg


PICT0361.jpg


PICT0028.jpg


cbr1r.jpg
---
cbr2.jpg


2191lht.jpg
 
Last edited:

Back
Top Bottom