ZX7 J2 Rebuild | Page 2 | GTAMotorcycle.com

ZX7 J2 Rebuild

Been a while since my last update. Here's a copy-and-paste from my blog:


Well I've been wrestling t-rexes, drop kicking space aliens, and most definitely NOT cowering from the bitter cold of my garage. However, between head-locking thunder lizards and double-legging Xenu, I have managed to order a bunch of parts and prep my crank cases for bottom-end assembly.

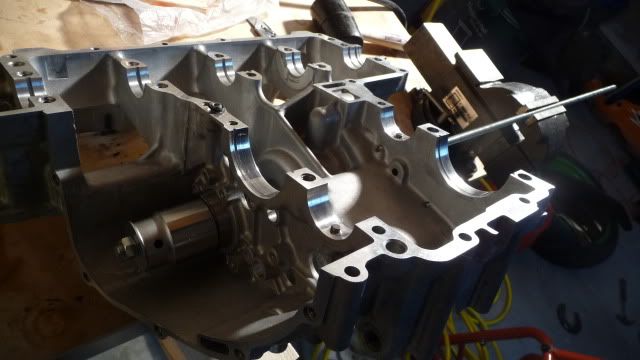
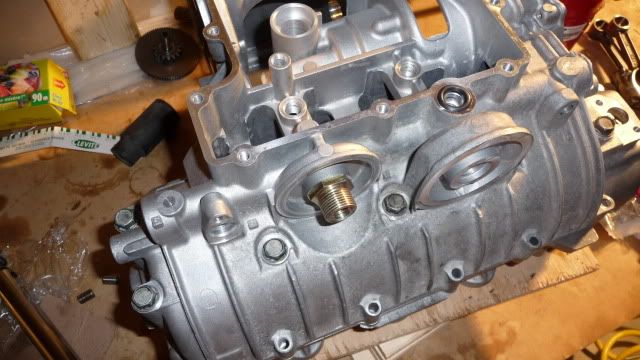
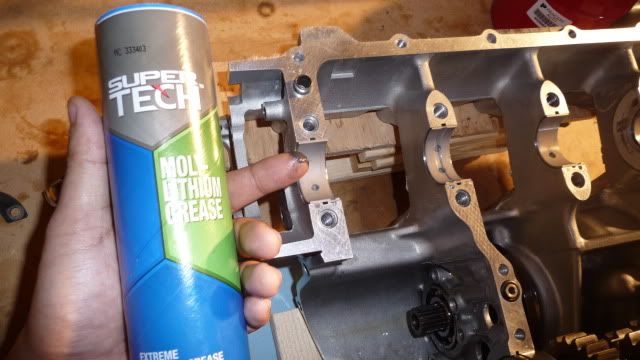
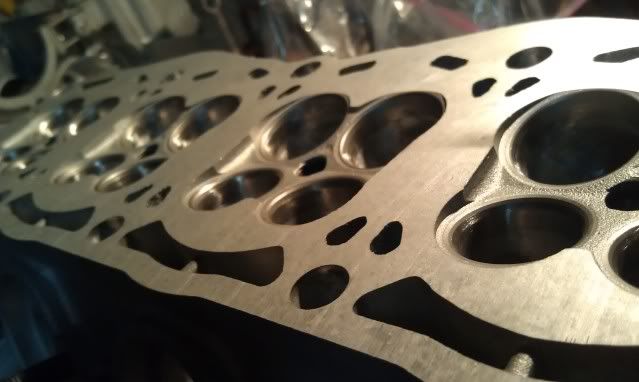
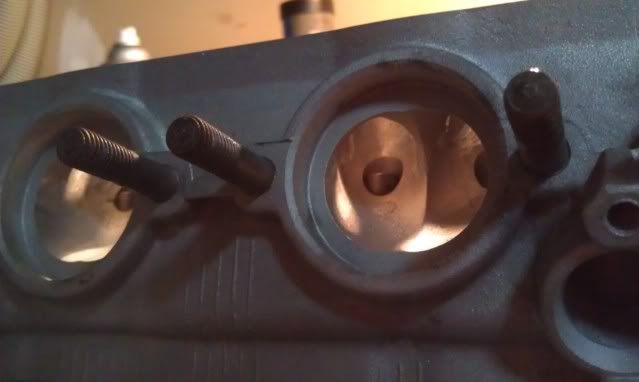
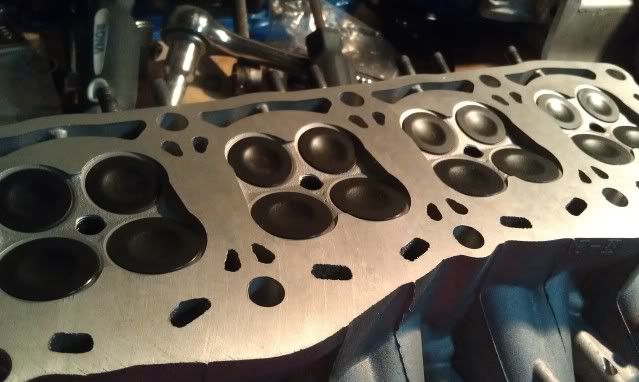
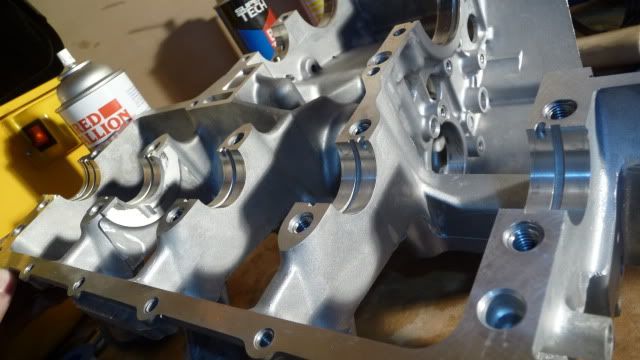
So far the most tedious part of this entire rebuild is prepping the mating surfaces of the two crank cases. This basically involves removing the silicon-based gasket material from the upper and lower crank case halves.

P1040780.jpg

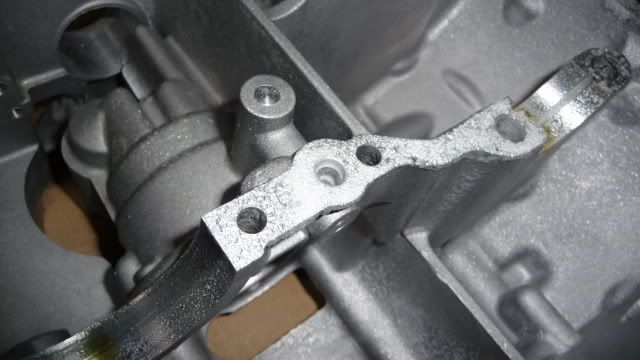
You can see the black gasket material in the holes. The funny texture is due to some liquid gasket remover I tried which was a waste of $15.00


My impression is that most people use a die grinder with some abrasive pads. Now, I have very little confidence in my ability to use power tools so I figured the next best thing is a razor to shave off the excess gasket material. This resulted in a decent scar on the mating surface... nothing serious but its definitely there. Lucky for me having (apparently) twitchy hands is well suited for scrubbing away with scotch brite pads and occasionally steel wool so thats exactly what I did... Except theres so many silicon filed holes that the pads can't easily get into which were a HUGE pain to clean out but in the end I think I did a pretty good job.

P1040792.jpg

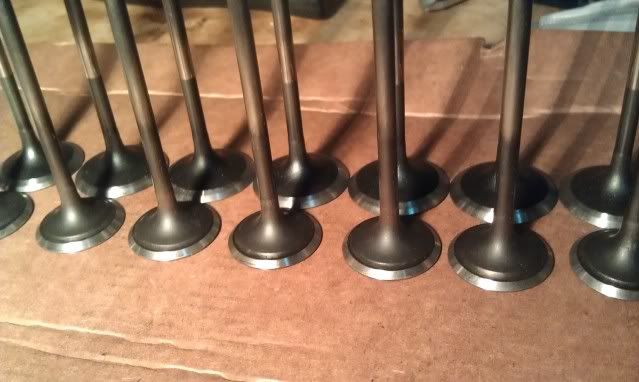
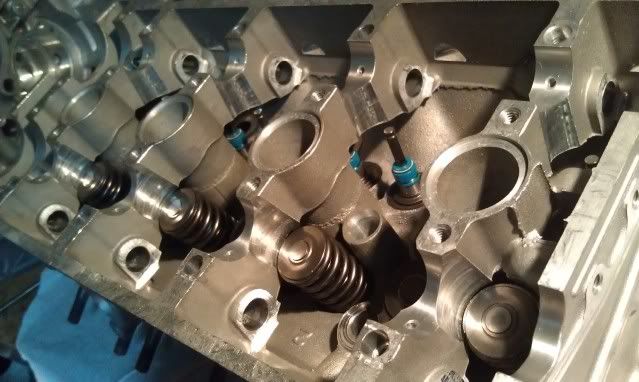
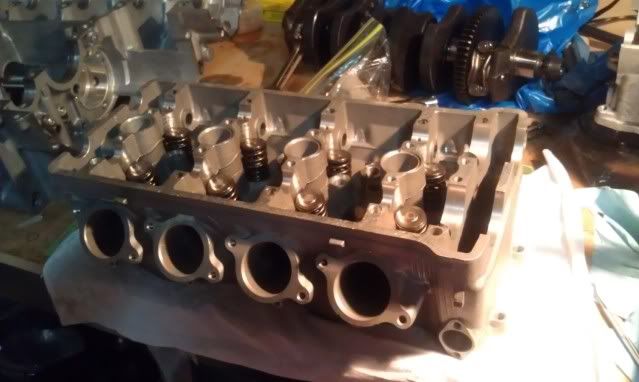
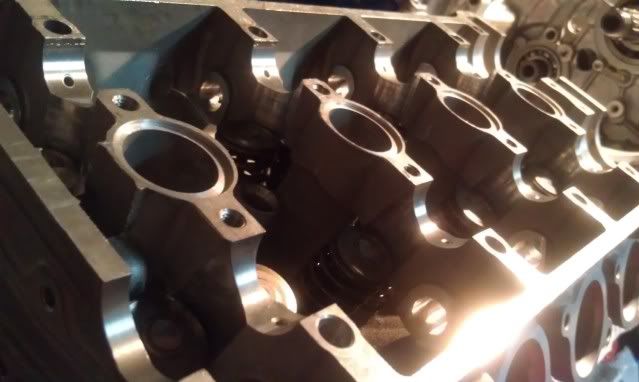
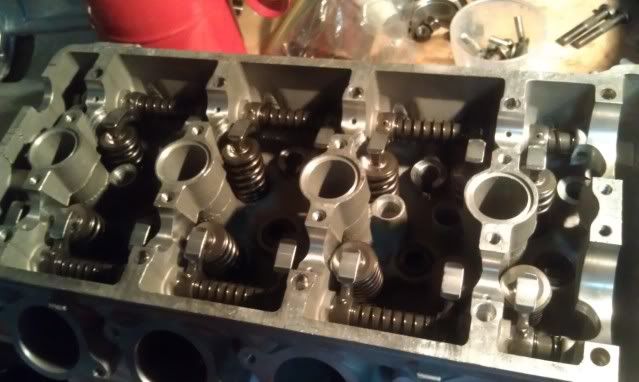
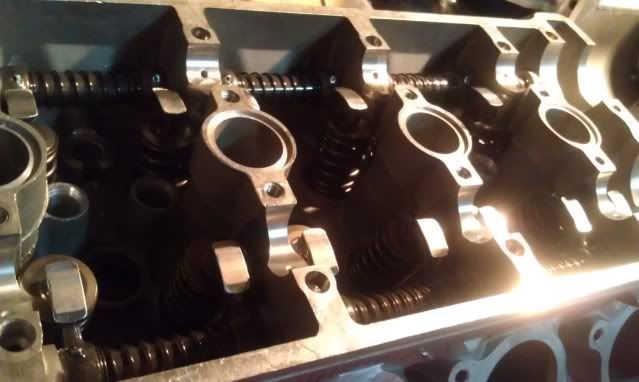
BAM! Cleaner than eating utensils

P1040790.jpg

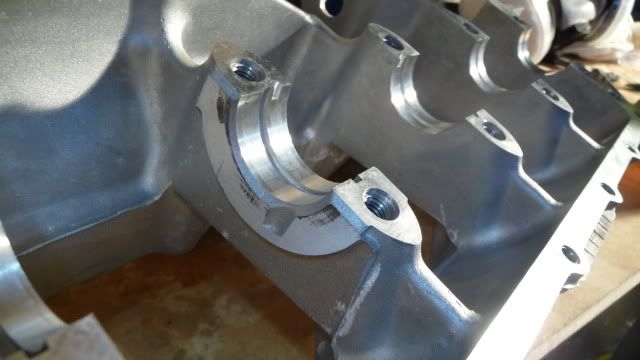
Cleaner than surgical instruments


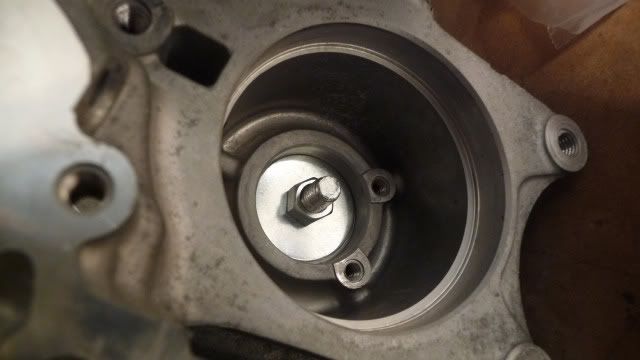
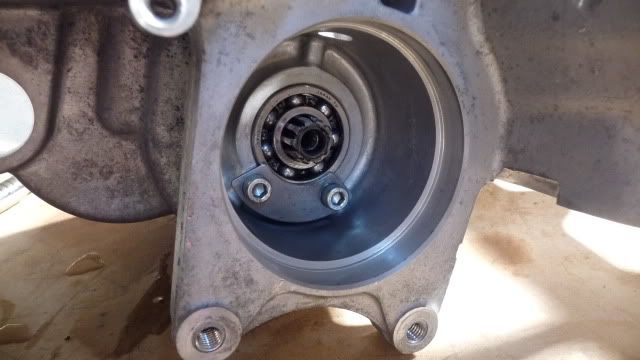
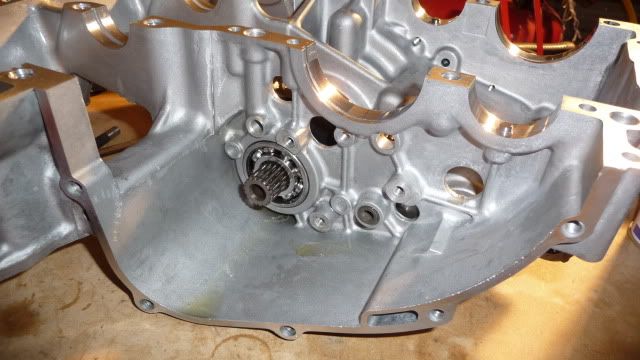
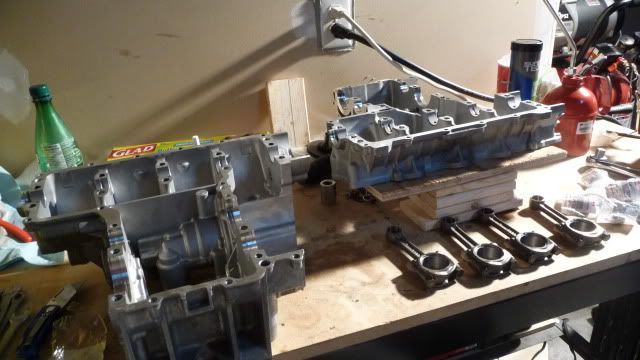
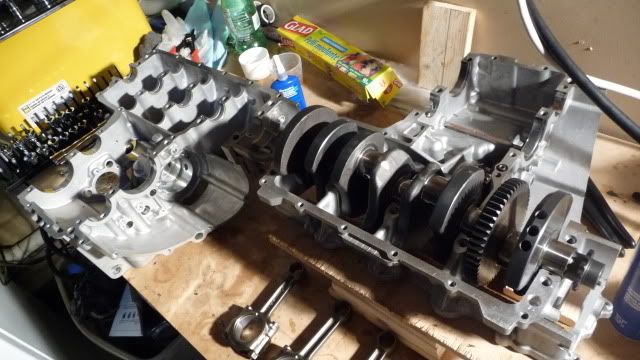
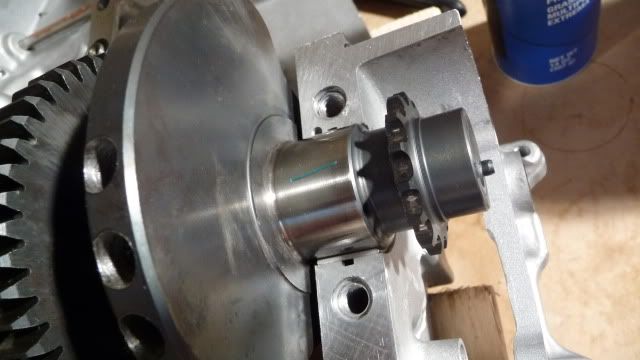
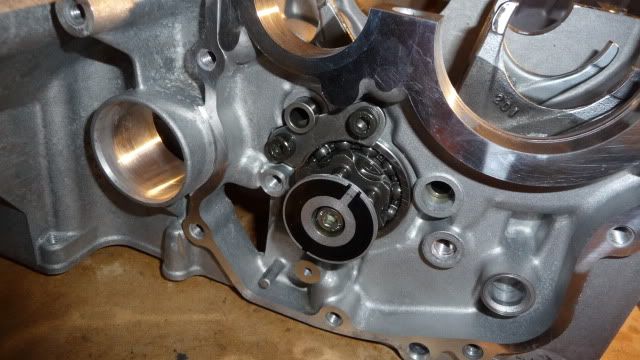
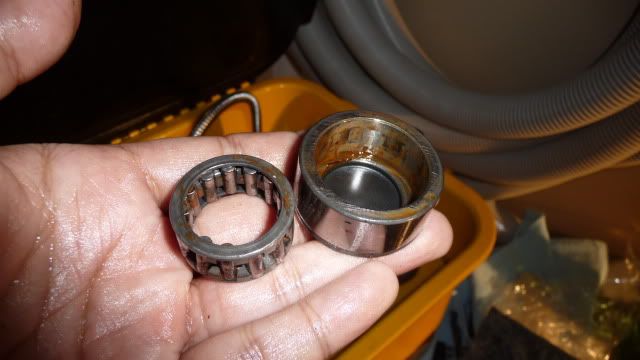
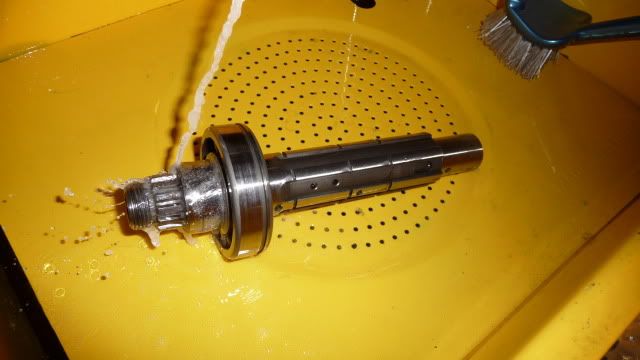
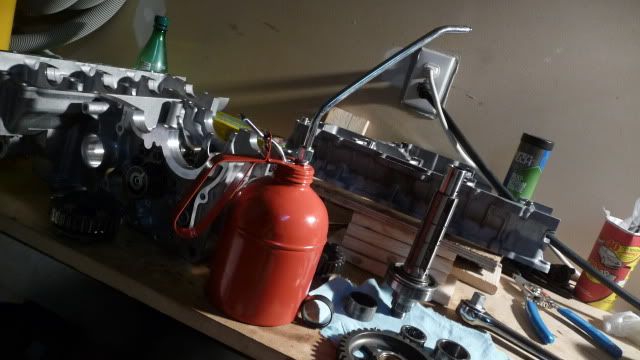
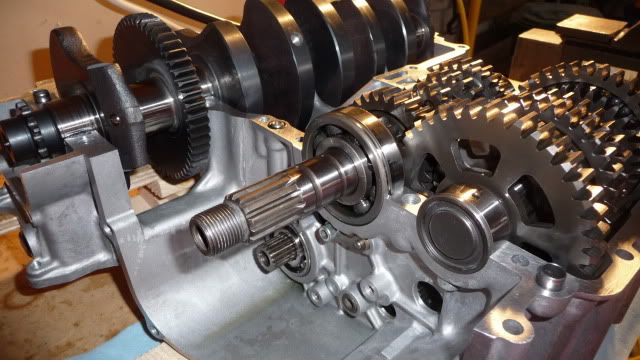
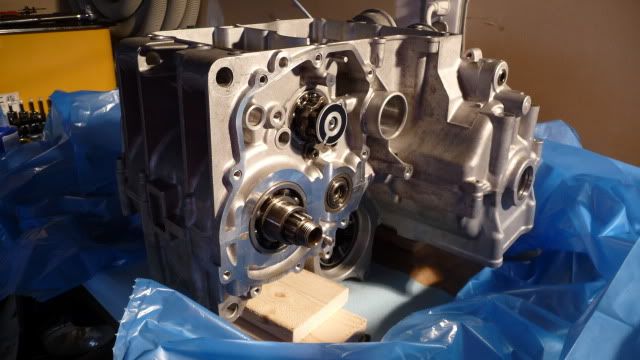
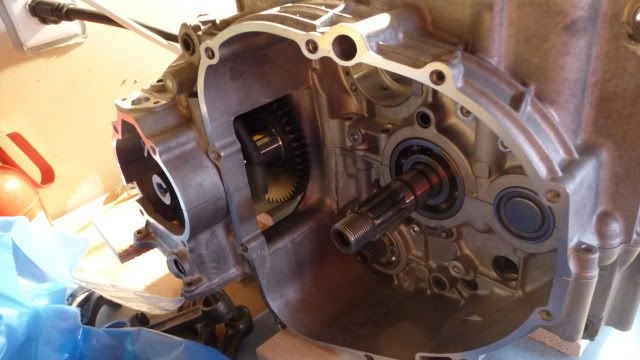
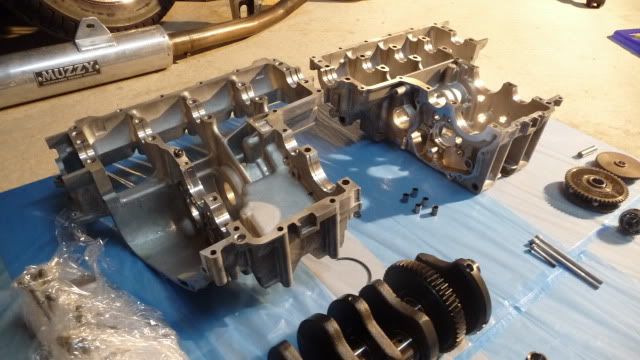
The first thing I was about to do was to reinstall the alternator shaft bearing. However its a REAL tight fit and needs to go directly into the upper crank case. I decided to put the bearing in the freezer can do a little shop cleaning and the end result is:

P1040795.jpg

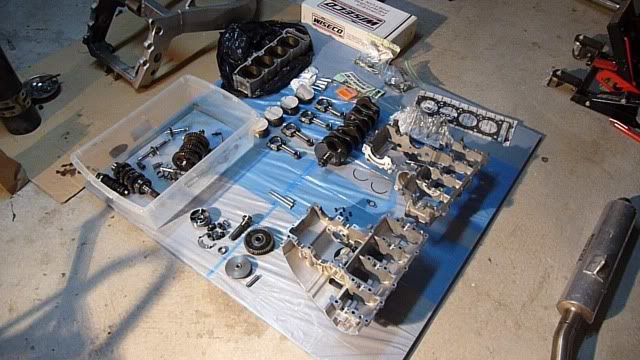
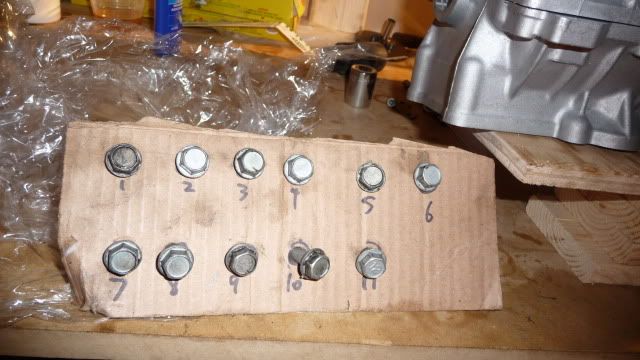
Tada! Now I'm more organized
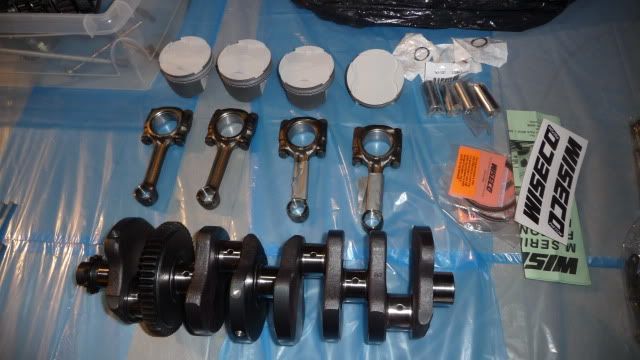
P1040803.jpg

Crisp new pistons

P1040805.jpg

Clean enough to eat off of

P1040811.jpg

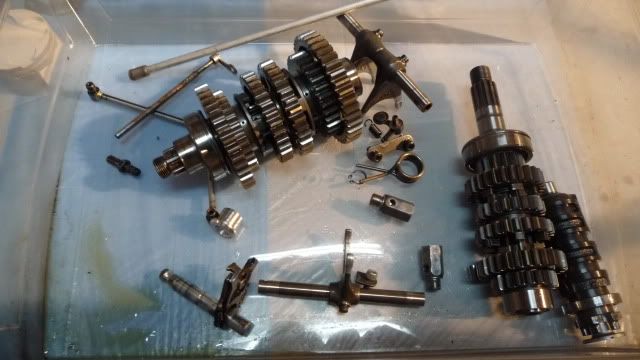
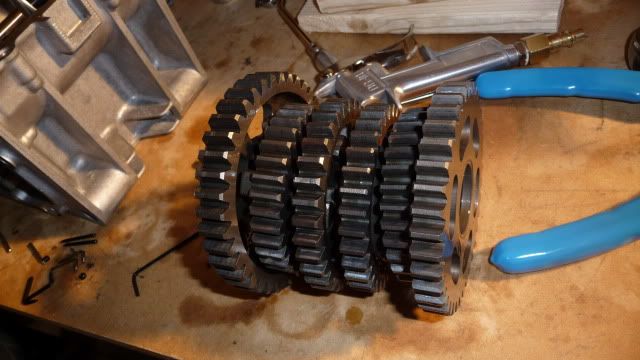
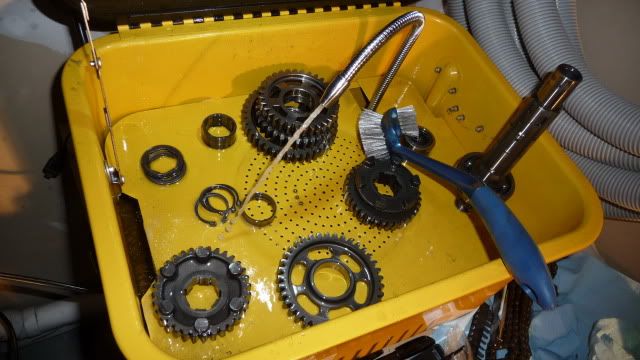
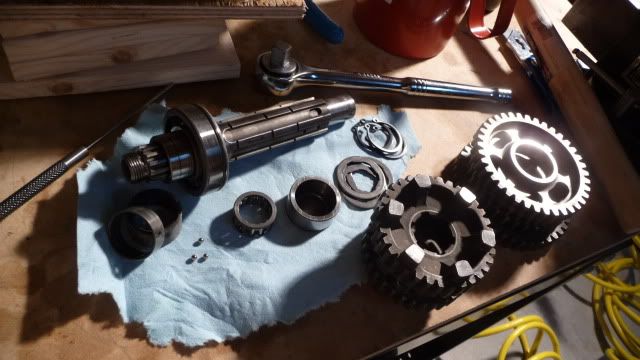
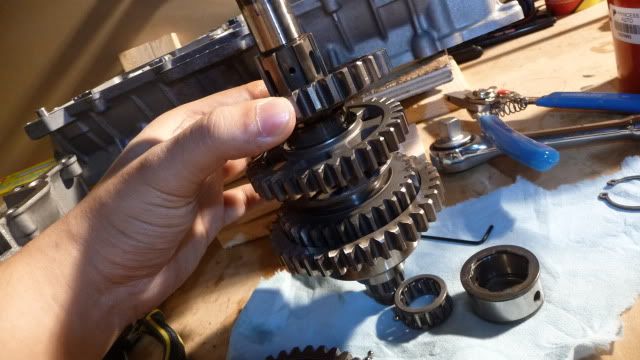
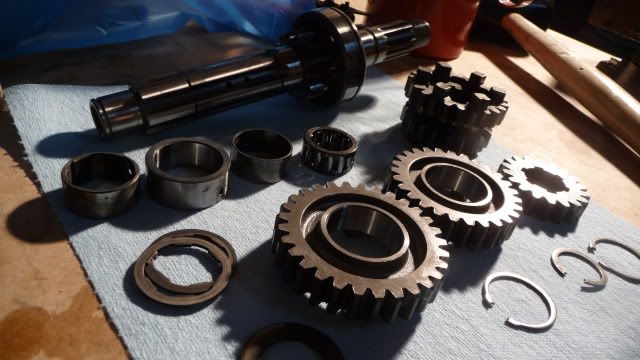
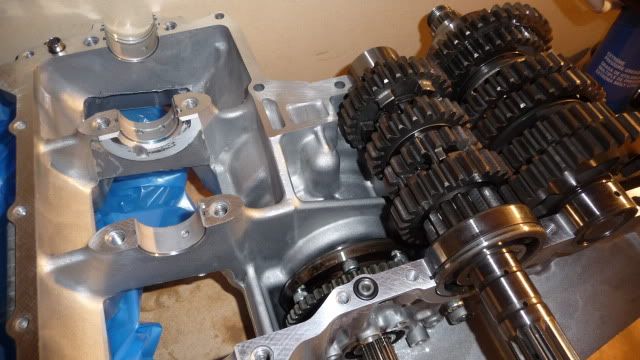
Tub o tranny parts (mostly)

P1040812.jpg

and I cleaned up my bench too! New additions to the bench include the 4 inch vise and parts cleaner courtesy of Princess Auto :)

P1040815.jpg

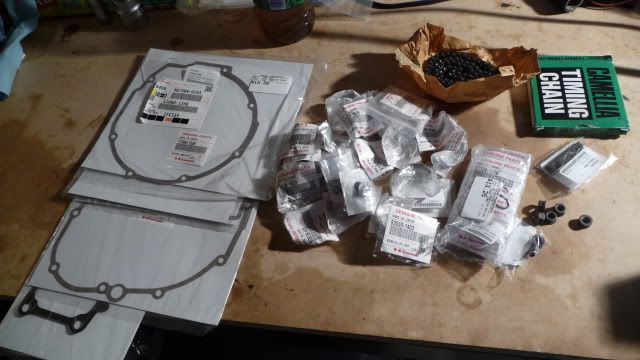
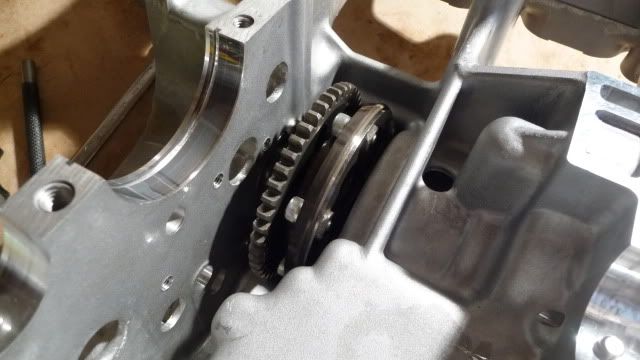
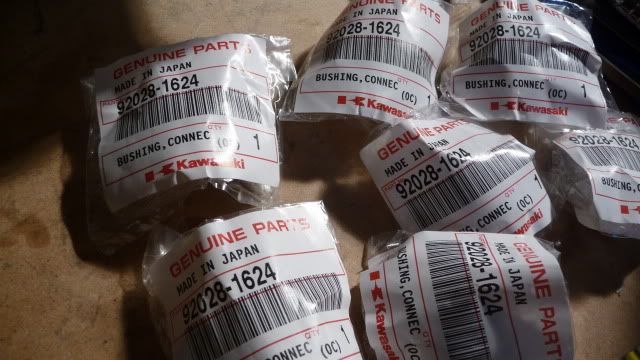
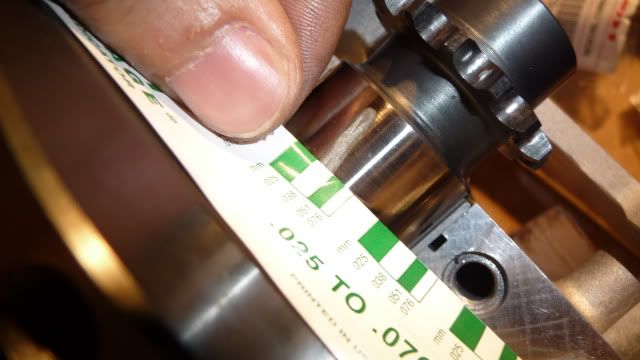
OEM goodness! Notice the Tsubaki timing chain. I've got a APE manual tensioner too (not in pic)


For more pics from this post, go to my photobucket page here.
 
An update from my blog

So like I mentioned in my last post the first order of business was to install the alternator shaft which required an interference bearing to be pressed into the clutch side of the upper crank case. This turned out to be a huge pain. Heating the case and cooling the bearing didn't work. I even tried to make a half-assed bearing press which not only failed to press the bearing into place but did more harm than good.

P1040837.jpg

This reeks of fail


Pictured above is a simple bearing press like any other home made device. You have a threaded rod, the bearing is fitted against a socket as shown and on the other side we have a washer to serve as a solid surface.

P1040832.jpg

Oh damn, the stench of fail is overwhelming the senses


But what could go wrong with such a simple contraption? Well when the designer is a ******* moron (yours truly) apparently a lot can go wrong. Long story short, I torque the end with the socket, the bearing starts to slide in a bit and the next minute I realize the washer pictured above had got bent and pulled through the hole it was sitting in. FUUUUUUUUUuuuuuuukkkk!!!!! At least that was my initial reaction. Upon closer inspection about half a mm of aluminum got taken out of the lip and no substantial damage was done.

P1040842.jpg

See? No harm done here, moving along then....


How did the bearing finally get put in place? Well I brought it to a local shop and by gently tapping the bearing with a socket, the dude got the bearing to slide right in.... I was overcome with shame, awe and relief. I imagine this is what people feel when the suffer from premature ejaculation; something real men like me don't have to worry about har har har

P1040847.jpg

This bearing is responsible for ruining my life

P1040845.jpg

Yayy!!! All put together now :)


I turn my attention to the crank and bearings while the transmission is still out; makes mating the case halves much easier.

P1040850.jpg

So much wasted plastic

P1040851.jpg

Alright, LETS DO THIS!!!

P1040859.jpg

Crankshaft, check...

P1040865.jpg

Knockoff plastigauge, check ...

P1040869.jpg

Engine bolts, check

P1040866.jpg

Why, hello there Mr. Plastigauge ...

P1040873.jpg

*crunch*

P1040875.jpg

~0.040mm ... well, a tad on the loose side but well below the maximum


Anyways I move on to the transmission starting with *drum roll*

P1040880.jpg

...the shift drum...

P1040879.jpg

...and shift forks

P1040882.jpg

Next I take a look at the main shaft and ...

P1040890.jpg

... WTF HAPPENED HERE!??! Lucky for me I bought half a spare motor

P1040886.jpg

Thats me peeing on the main shaft...

P1040891.jpg

All the main shaft components in their glory

... continue ...
 
... continued ...

P1040899.jpg

Now that I have a (small) parts washer and air compressor, I don't know how I ever lived without them

P1040902.jpg

Cleaner than a shaved beaver. Note the ball bearings, I nearly lost them TWICE! Yes I'm that retarded.

P1040909.jpg

The gears look to be in good shape...

P1040925.jpg

...and the fork cavities look to be within spec

P1040927.jpg

Now all we need to do is add some engine oil ...

P1040930.jpg

... and we're off. Note the heavy(ier) duty snap ring pliers; the transmission shafts are a massive pain

P1040937.jpg

Done.

P1040942.jpg

Into the engine we go now.

P1040954.jpg

Now for the output shaft

P1040979.jpg

Doesn't that just look magical? New bearings, fresh bearings, and clean aluminum... oops I just messed up my pants

P1040974.jpg

Here's some more tranny porn for your fapping pleasure

P1040984.jpg

Next I do a test fitting of the crank shaft, crank case, and transmission starting with some molly grease

P1040993.jpg

With the crank shaft in and gears in neutral, I mate the two halves together

P1040998.jpg

PRESTO!!!

P1040999.jpg

Everything looks (and feels) about right

So my next step is to find a high quality and calibrated torque wrench to torque up the rod bolts as well as the case bolts. The ****** Canadian tire and Harbor Freight stuff just isn't giving me all the confidence in the world right now. Plus I'm curious as to how a better torque wrench will effect my oil clearance readings....
 
First time doing an engine? Every time I do this job, I'm so focused on getting it done that I never take pictures.

It looks like your next step will be mating the cases together. Use a good quality RTV and use very little of it! Don't miss any spots, but a fine line of it around the perimeter is all that's needed. I like to put that line of RTV on one of the mating surfaces but towards the outside of the engine, so that when it squeezes out, more of it squeezes towards the outside than towards the inside. Loose bits of excess RTV sealant can cause trouble later, thats why you should use as little of it as you can get away with.

I know some mechanics who swear by the Suzuki crankcase sealant. It is expensive but it is good stuff. But, I've been using Permatex black and I've never had an issue with it - and it's cheap and you can get that at Canadian Tire.
 
More updates from my blog:


With riding season in full swing I've found it increasingly difficult to find time to work on the J2. Between rides to cottage country and doing crap around the house, the J2 has a hard time getting on my calendar.

Fast bikes ...


... sweeping hills ...


... peaceful lake towns ...


... and ducklings! Its a good summer :)


On top of all that I bagged myself a ZX7 N1!

The first and last generations of the ZX7 P/N


Anyways, about a month back, I had my cylinder head and valves machined. The cylinder head had its mating surface leveled and ports ground down a bit to help with flow into and out of the engine combustion chamber. The valves got a two angle cut. All the work came out to roughly $200.

Clean! Hard to see, but those ports have been rounded out


Looks cozy in there


Can you see the two angles? ... well its there!


Other goodies include fancy new BLUE valve seals and valve seats, caps, and springs off of a ZX7 K1.

Dear lord they're SO BLUE!! Nothing says 'aftermarket' like fluorescent, flamboyant colors.


ZX7 K bits! Neat!


So now I get to put all this stuff together which was a massive pain. Lots of small pieces to get lost and plenty of nooks and crannies within the head itself for things to hide. The fact that there are 16 valves just multiplies the grief.

Nothing like some good 'ol fashioned valve lapping to bore to you sleep at night


ZZZZZ... zzzzzzz...


All that ass pain gets you a hazy ring around your valve seats as demonstrated by the valve on the left


The same effect can be seen on the valve port (left is lapped)


Just repeat that 16 times and your done!


Next, it was time to get the springs back in the head. Installing the valve locks was the BIGGEST pain in the ass EVER. They're so bloody tiny and you've gotta manipulate them with tweezers in this confined space within the valve spring compressor. I've lost count of the number of times I had them squirting out form between the tweezers and shooting across the room. This is usually followed by a flurry of curses followed by 10-20 mins of crawling around my garage looking for a piece of metal approximately 5x5mm. Grrrr


Half way there


GOAAAAAAAAALL!


Sexy blooming effect :)
 
Installing the rocker arms afterwards was simple in comparison.

Rock out with your block out!

More blooming sexiness


You probably haven't noticed but the resolution of all these pics are different from ones in my previous post. That's because I got a new HTC Incredible S which has a 8 megapixel camera! That's right all these AWESOME pics were taken with a freaking PHONE!!!! Win.
 

Back
Top Bottom